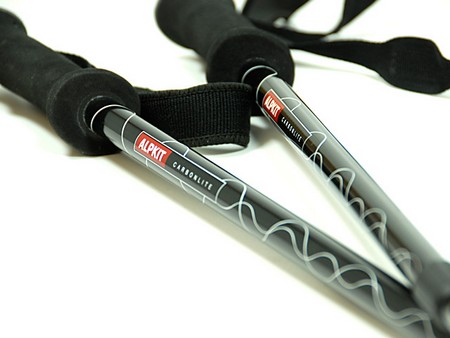
Hiking is a very popular sport regardless of the season. People who love a hiking adventure find it useful to use some equipment. Adjustable trekking poles are a commonly used when hiking to help increase balance when they are traversing across trails. These poles are very helpful when hikers come across streams or rough surfaces with hard to place footings. A lot of company makes these poles. All adjustable poles function the same. They utilize three interlocking parts that are movable and bendable. The parts are changed to fit the height of the person and or conditions of the terrain when hiking.
Necessary Items:
- Bag
- Outdoor Clothes
- Ski Poles
- Snow Boots

Instructions
Step 1
Find the poles that are right to you. You can find some that are reasonable priced. You can find them in various styles and from about $35 – $100. In this case, you get what you pay for. The higher the price the better the quality.
Step 2
Decide how long you need your poles to be. Measure this by extending the forearms to the front of the body. Leave the elbows at the waist and the palms of the hands facing downward. Use a measuring tape to determine the distance between the hands and the floor. Note the number. Multiply the number by 2.54 if you’re using inches. This converts the inches to centimeters. The centimeter measurement is what you need to know if you are purchasing from the UK. They use the metric system as opposed to inches.
Step 3
Every pole has three telescoping parts that can be placed into the other. The last two parts have numbers on the surface that indicate they go into one another.
Step 4
Twist the bottom part of the walking pole counter clockwise. This makes the parts loose. Now, pull apart with even pressure to align the poles with the adjacent segment. Rotate the part in a counter clockwise motion to align. Apply even pressure when pulling apart so that the collar is lined right with the correct length. The numbers along the pole will indicate the appropriate positioning. Rotate the section in a clockwise motion to securely lock the section into the correct place.
Step 5
Do the same thing for the part in the center. Align it at the very top with the part that has the corresponding numbers. Rotate manually in a clockwise position. An example is if a person who stood 6 feet tall needed to configure his poles, the distance from the forearm to the floor would measure approximately 52 inches. Multiply that by 2.54 and the number results equal 132 centimeters. The person needs to adjust the two parts to the 132 levels at the numbers alongside the pole itself.