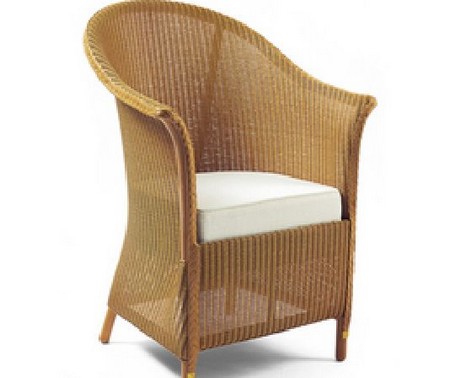
With chairs and sofas, it is always worth buying the best quality you can and they will last you for life. It is also a good idea to make sure that the fabric you choose to cover your upholstered furniture is hard-wearing and will last. Until the nineteenth century, seating was for convenience rather than for comfort. Early attempts at upholstery were quite primitive and consisted simply of putting a pad, made of hair or fur, on top of a hard seat. Later, padding was attached to the bottom frame, which added some, but not much, comfort. In 1828, the invention of coil springs changed all this. By using them with the padding, furniture makers could produce upholstery which would both keep its shape and be infinitely more comfortable to sit on. They stuffed large and deeply sprung chairs and sofas almost to bursting point, covered them in plush materials, and used heavy buttoning for an even more sumptuous effect.
Today’s hand-made upholstered furniture is expensive: it is made traditionally, using cotton wadding, felt, hogshair and natural fibres sprung over a solid beech frame. High-quality cushions are stuffed with duck down and feathers. In less expensive furniture, manufacturers substitute layers of foam for some of these materials. If there is too much foam, the seat will crumble away after a few years, necessitating re-upholstering. But upholstered dining chairs, in particular those with drop-in seats, are fortunately easy to change and can even be recovered to suit a new colour scheme.
You will need:
- Plywood to fit over the frame of the chair seat
- Drill with 8 mm (5/12 in) bit
- Nails
- 1 metre (1 yard) covering material Staple gun and staples Stanley knife
- 1 metre (1 yard) of 4 cm thick foam 1 metre (1 yard) cotton wadding
Method
- Dismantle the drop-in seat, including any webbing, and discard everything but the wooden frame.
- Cut (or ask your wood merchant to cut) the plywood to the shape of the frame, but make sure it is 1 cm smaller all round. You can do this yourself if you make a template of the shape you need and saw the wood carefully so that there are no jagged edges.
- Drill a few holes in the plywood using an 8 mm bit. This will allow the upholstery to ‘breathe’.
- Fix the plywood to the frame with nails at 10 cm (4 in) intervals.
- Put the frame on top of the foam, mark round it in pencil, and cut the foam along the lines with a Stanley knife so that you get a piece of foam 1.3 cm (1/2 in) bigger than the frame. Lay the foam on top of the plywood.
- Cut the cotton wadding to a size that is large enough to go over the foam with a little bit to spare.
- Place the cotton wadding centrally over the foam, pull over the edges, and using the staple gun, attach it to the sides of the frame.
- Cut to size the material you are using to cover the chair seat, making sure you have cut out enough material for Step 9.
- Place the material centrally over the seat on top of the cotton wadding. Pull it firmly over the sides, folding it at the corners, and attach it to the underside of the frame with the staple gun.
- If you want a really professional finish, cut a piece of hessian to the size of the frame. Turn it in along the edges, and staple it to the underside of the seat, punching a hole in the hessian where the dowel comes up from the chair frame to anchor the drop-in seat to the chair.
