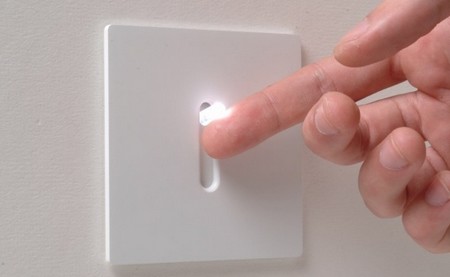
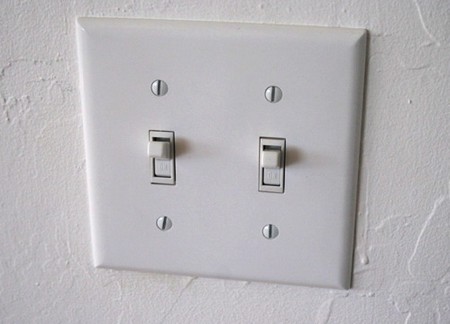
Many people have a fear of electricity, and that fear keeps them from performing basic electrical repairs around the home. A respect for electricity, based on an understanding of how it works, is appropriate. But fear isn’t. This easy-to-do weekend project will help you understand how electricity works, and it will solve a problem, too.
Light switches are easy to replace. The three most common types of light switches used in homes are single-pole, three-way, and dimmer switches.
In addition to common household tools, such as screwdrivers and a hammer, you may need insulated pliers, a combination tool (for wire stripping and crimping), a fish tape (for running wires through a wall), plastic electrical tape, a continuity tester, and a wide-beam flashlight (for working in the dark). You may also need some wiring nuts, that is, cuplike caps that fit over the juncture of two wires and are twisted to hold the wires together.
REPLACE SINGLE-POLE SWITCHES
When only one switch controls a light or wall outlet you have a single-pole switch. This is the easiest type to replace. Here’s how: First, remove all fuses or turn the circuit breaker off before doing any electrical work. If you are installing a new switch, pull the wiring set (Romex) out of the wall electrical box about 6 inches and strip the wires.
If you are replacing an old switch, remove the wall plate and old switch, installing the new switch in the same manner. Wrap each stripped wire clockwise three-fourths of the way around the screw. Solid conductors may be inserted straight into a push-in terminal. If the ground wire is connected to a green hex screw in the old switch, reconnect it to the green hex head screw on the new switch bracket. If no screw exists, fasten to the metal box or metal switch bracket.
Next, mount the new switch in the box and replace the wall plate. Turn the power on and test your switch.
REPLACE THREE-WAY SWITCHES
A three-way switch works in pairs to control the same light or outlet, usually from opposite ends of a room or from the top and bottom of stairs. They are easily identified because they have three wires attached to them. You can purchase them in the common snap type, quiet type, and mercury type switches. Four-way switches are also available, but difficult to find, for controlling a fixture or outlet from three switches.
REPLACE DIMMER SWITCHES
Like any switch, dimmers are available in either single-pole or three-way types. Determine which type is required and then follow the above instructions for that type of switch. However, in three-way application, use only one dimmer. The other control must be an ordinary three-way switch.
For safety, the dimmer bracket should be grounded. If the old switch has a ground wire (normally connected to the green hex head screw), fasten it to the metal box. If the box is plastic, fasten the ground wire securely to the metal dimmer bracket or other location as directed in the manufacturer’s instructions.
INSTALLING COMBINATION DEVICES
Adding an extra plug, switch, or other device can be almost as easy as replacing a switch if you can use combination devices. These handy electrical units are available in combinations of switches, pilot lights, and outlets. You can buy a combined switch and pilot, outlet and switch, or two switches on one mounting strap. They are shaped like a double outlet and use a wall plate which fits a double outlet.
Combination devices give you the flexibility you may need in one convenient device. For example, let’s say you need a new switch and light. Rather than install a new box it may be easier to run a wire from the light to the existing switch box and install a combination device with two switches.
In planning your specific installation, check to be sure a neutral wire is available if it is required. In some installations of switches and lights, the power is taken directly to the light, and the neutral wire is not present in the switch box.

