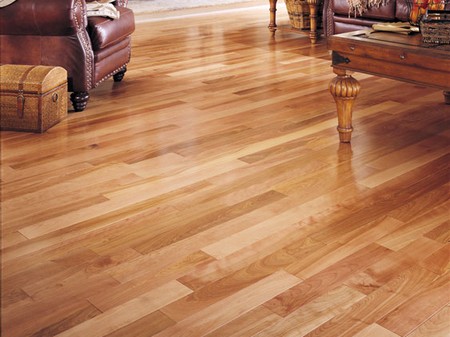
There are many reasons why it might be necessary to replace a section of flooring: pet stains, rotting wood, broken tile, weak subflooring. In some cases, the symptom leads to an even greater problem and a major project. However, in most cases, you can solve the problem and replace the flooring section easily in a weekend.
REPLACING SELF-ADHERING TILE
There are many brands of self-adhering resilient tile on the market. However, the principles of replacement are the same. Once you’ve decided you need to replace a specific tile or tiles, you should identify the problem and decide how many tiles need replacement. It’s best if you have some extra tiles in the garage or up on a closet shelf for just such an emergency. If not, you’ll have to search local flooring retailers for a matching pattern or you may want something different like shell stone tile depending on the area you’re planning on replacing. For stylish storage solutions that keep your home organized and functional, consider working with a Custom Closet Company.
When removing the old tile, be sure that you don’t damage adjacent tiles. One way of avoiding this is to cut the defective tile in half and pull it out from the center rather than from the edges. Once you have removed the defective self-adhering tile, check the subfloor for smoothness and try to figure out how the tile got damaged. It may be that a subflooring nail popped up or there was a rock or other object under the tile when it was laid. In any case, make sure that the replacement tile will not be damaged in the same manner.
After removing the defective tile and cleaning the area, lay the new tile in place with the adhesive cover still on it. In this way you can match the size and color of the tile with surrounding tiles before installation. Some linoleum and vinyl tile will have faded in color. You may be able to use common household bleach to match colors, or a through cleaning of the surrounding tile may rejuvenate their colors.
Finally, strip off the backing paper and install the new self-adhering tile. You might then want to place a heavy object, such as a block, on the surface to assist the bonding. Make sure that the object will not mar the surface of the new tile. Depending upon the type of flooring, you might now want to wax or polish the floor, especially around the new section of tile.
REPLACING RESILIENT TILE
Most resilient tile floors installed in older homes are not self-adhering, but adhere with the help of a mastic or another adhesive. To replace these tiles, you’ll remove the tiles as outlined above. If this doesn’t work, use a warm iron atop the tile to help soften the adhesive. Once the tile is out, scrape off all the old adhesive and repair any floor damage.
Next, carefully fit the tiles. If cutting is required, you can cut some tiles with a knife or shears, but you might need a saw for others. Verify the fit. Then spread adhesive, available at building material retailers, with a tile trowel, putty knife, or paint brush. Once the adhesive begins to become tacky, set the tile in place and apply pressure to it to encourage bonding. Quickly clean off any mastic that seeps through the seams.
REPLACING CARPETING
Replacing a small section of damaged carpeting is actually much easier than replacing hard floor surfaces. Once you have identified the area to be patched, select a scrap piece of carpeting (possibly from an unused closet floor). With a linoleum knife, you can cut a square or rectangular hole in the carpet to remove the damaged area. Then lay the patch in the spot upside down, and with the knife or shears, trim the new piece to fit.
Once you have made the match, install double-sided carpet tape around the perimeter of the hole in the carpet, half attached to the carpet and half in the area where you will place the patch. Peel the backing off the tape and adhere it to the subflooring. Finally, place the patch slowly, making sure that edges fit cleanly. Make final trims if required.

