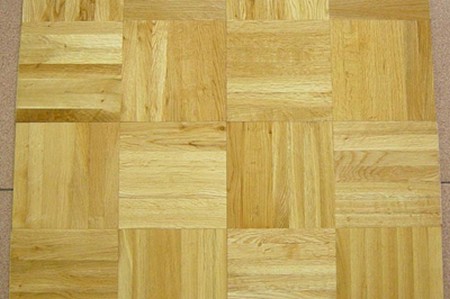
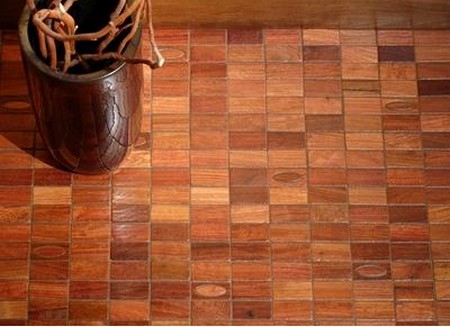
When buying mosaic panels, check to make sure that they are all the same size. Any slight variation will leave unsightly gaps in the finished floor.
Before laying mosaic panels in earnest, line up a row of panels without adhesive along the length of the room to check positioning. Remembering to leave a gap of 12.5 mm at the edge (for expansion), try to arrange the flooring so that the first and last panels are approximately the same size. Also make sure that any cutting is done up the sides of ‘fingers’ rather than across the middle of a ‘finger’. If the panels are hessian (burlap) backed, this is easily done using a trimming knife. With a wired panel, simply cut through the wire with a hacksaw and break the glue joint. If ‘fingers’ do need to be cut through, hold the panel firmly in a vice and cut through the ‘finger’ carefully with a tenon saw (backsaw).
When you are happy with the position of the panels, remove them all except the central one and mark along the front and back of this – make the lines considerably longer than the sides of the panel as they will be obscured by adhesive when you come to lay the panels. Repeat the process across the width of the room and you will now have the starting point for your central panel, central pair of panels or four central panels.
The individual panels are laid on a bitumen-based adhesive, starting in the centre of the room (as determined by the ‘dry’ setting out plan). Using a notched spreader, spread enough adhesive on the floor to lay the first panel (or the first two or four panels) and put in place; avoid getting any adhesive on the front face of the panel. Tap the panels in place lightly with a mallet, using an off-cut of timber to protect the surface. No adhesive is necessary with self-adhesive mosaic panels – simply peel off the backing paper and press the tile in place.
Work outwards from the centre until you are less than a full panel’s width from the wall. Make sure the tongued-and-grooved joints are pushed together tightly. To cut the last panel to size, lay a whole panel on top of the last whole panel laid and then lay a second panel on top positioned so that it is 12.5 mm away from the wall. Where the second panel meets the first panel is the cutting line, so draw down it with a pencil. Now cut the first panel along the line and the cut-down panel should now fit exactly into the space available.
After fitting all the edging panels, fit cork expansion strips into the expansion gaps and replace the skirting board (baseboard) if you removed it; where skirtings were left in place, use quadrant or scotia moulding to cover the expansion gap, if you wish.

