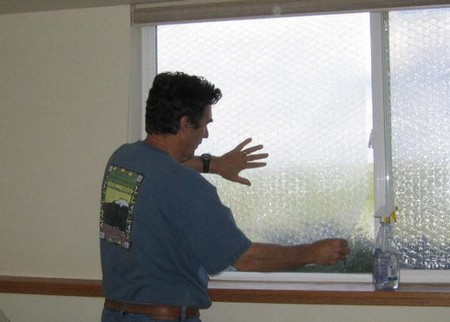
Insulation on windows is very important, you can call an insulation contractor to ensure your windows are properly insulated. During the cold months, insulating your windows with plastic can help keep your house warm. This also may translate into lower monthly energy bills and expense. If the windows in your home are drafty it hard to keep the house warm when it is cold outside there are solutions, to learned them, read full article. Consider insulating your windows with plastic as the temperature starts to drop when seasons change. Insulating your windows by covering them with plastic is a cost effective solution to your heating and cooling expenses. In addition to window insulation, you may also consider adding a security window film to improve your window’s durability.
Procedure:
Step 1
You want to start by preparing your window to be insulated. Do this by cleaning the outer edge of the window with rubbing alcohol. Make sure to eliminate all visible dirt and build up. If these edges are dirty and still have build up it will interfere with the rest of the process. Take your time doing this step, get more tips from this expert insulation contractor.
Step 2
Apply a double edged tape to the inside of your window frame. Allow the tape to sit on the frame for several minutes to ensure sealing turns out well.
Step 3
Carefully unfold the plastic that will be used to insulate your windows for the winter. Measure the plastic against the shape and size of the window. Leave 3-4 inches excess on the sides while you are working.
Step 4
On the front of the double sided tape is paper. Remove that paper. Start to apply the plastic to the two sided tape. Start at the corner and move your way down and then across the window.
Step 5
Press the plastic firmly against the surface of the tape. Move steadily along, applying even pressure to the surfaces. Make sure that the seal is tight an unbroken. There should be no lose corners. Inspect the seal and the way the plastic is adhering. Looking for air bubbles, gaps and buckling. Fix these as you come across them.
Step 6
Plug your hair dryer in and switch it on to the high setting. Start in the corner and evenly make your way to the other corner. Make sure the hair dryer does not touch the plastic. Maintain a distance of 4-6 inches from the plastic. The plastic will begin to shrink and tighten the seal. Keep heating the plastic until the plastic is tight and doesn’t sag across your window.
Step 7
Remove the plastic in the warm months. Apply an adhesive remove to remove the residue left from the tape. I also found this video about some great no-residue tape which is brilliant for use in so many cases, so have a look at that as it’s really useful.
