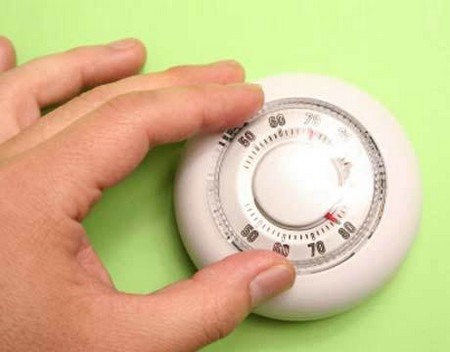
With the constantly rising rates on electricity and natural gas, many people are looking for ways to reduce their monthly consumption. By simply replacing the old thermostat in your home with a digital thermostat, you can save a lot of money on your monthly cooling and heating bill. In fact, a digital thermostat can reduce your current utility bill by as much as 35 percent.
Aside from a very noticeable difference in your utility bills, digital thermostats have a lot of advantages over the old mercury thermostats. One of the main benefits is the timing feature. This feature allows you to set the thermostat to automatically turn off when no one is home. And, you can set it to automatically turn on an hour or so before you plan to arrive home so that your house is nice and warm, or nice and cool if you live in a state like Texas, of course if you need an HVAC system for this, you can get a commercial HVAC contractor in Texas to help you with this.
Just a quick reminder, thermostats can also fail to respond to settings, cause a system to short cycle off and on, show inaccurate temperature readings, or stop working. If this happens, you may need to consider getting a thermostat repair in Colorado as early as possible.
You can even take advantage of the feature by setting the thermostat to automatically revert to a lower temperature after you’ve gone to bed. Then use another setting to have it turn on at a certain time before you get up. It’s the perfect way to conserve energy when it’s not needed and still have your home comfortable when you need it to be. If you need help with your thermostat calibrations don’t hesitate to ask your technician.
In addition to a digital thermostat, homeowners should also schedule a furnace repair and tune-up service to keep their heating system energy-efficient. Hiring a professional furnace repair and air conditioning repair technician at least twice a year can help maintain your hvac unit and ensure its energy efficiency.
Installing a digital thermostat is fairly easy and you only need to have some basic tools. You’ll need a screwdriver, some masking tape, a sharp knife and a level. Before you do any project that involves electricity, make sure that you locate the correct breaker in your circuit box and turn it off.
The faceplate on your existing thermostat should just pull off and you’ll be able to see the screws that are holding the thermostat in place. Remove the screws and gently pull the thermostat away from the wall. You don’t want to force it, the wires might break and you won’t know where they need to be.
The wires will be several different colors, usually red, yellow and green. But, to be safe, you can mark them using the masking tape. Simply loosen one screw at a time to remove a wire and wrap it with a small piece of masking tape. Find the number or letter that is beside the screw and write it on the masking tape so that you’ll know exactly where that wire goes.
Before you connect the wires to the digital thermostat, hold the thermostat in place to check the screw holes. In most cases, the screw holes in the wall from the old thermostat won’t match up with the new one. You can mark where the holes need to be with a pencil, but make sure you use a level to get the thermostat straight before you mark it.
If you have a drill you can use it to make new holes. But, it’s easy to make them without a drill. Just mark where the holes need to be and use a small nail to make a starter hole for the screws. Remove the cover on the new thermostat and insert the wires into the back side of the plate.
Thermostats are very sensitive, for them to function properly it’s crucial that they are completely level.
Attach the new digital thermostat to the wall making sure that none of the wires fall through the back, or get caught under the edge. Inspect the wires to look for corroded areas or crimps. The edges of the wires should already be stripped clean. But, if they’re not, you can use a sharp knife to remove the vinyl covering about 3/4″ up the wire.
If the numbers or letters on the old thermostat don’t match up with the new one, follow the instructions included with the thermostat to attach the wires. After all of the wires are attached, replace the face plate. Almost every digital thermostat requires a battery, but a battery is usually included in the box with the thermostat. Insert the battery and turn the power back on.
You can use these same steps to install a regular thermostat. And, even replacing an old worn out thermostat with a new one can save you money. But, digital thermostats are fairly inexpensive and can literally pay for itself on your very first utility bill. They have so many advantages over the older type thermostats that there’s no reason not to choose a digital thermostat. A seasonal furnace tune-up in New Jersey can further enhance energy savings and keep your system running smoothly.
Further Readings:
