Carpets can completely huge change the feel of your house relatively inexpensively. Carpeting comes in many styles and colors to perfectly suit your lifestyle and décor preferences. Unfortunately, today’s carpet prices mean you need to ensure your carpet will last; further, opting for professional carpet installation adds up quickly as well. But with minimal skills and tools you can install new or repair damaged carpet yourself without making a service call. You can also get UK tool hire in case there is a requirement.
Repair
Step 1
Vacuum the carpet. Use the nozzle part of the vacuum directly over the damaged area to remove as much dirt as possible. Take care not to rub the nozzle on the damaged area, as this may cause staining to the carpet.
Step 2
If a mark remains, carefully trim back the mark using a putty knife. Do not scrape the fabric too much so you avoid damaging the carpet even more.
Step 3
Make an imprint of the damaged area if the mark won’t come out. Cut the stained area using a carpet cutter. Once you’ve done this, use the cut-out piece as a pattern to use on your spare piece of carpet and cut a new piece. Make sure you match up the lay of the carpet in the same direction as the larger area.
Step 4
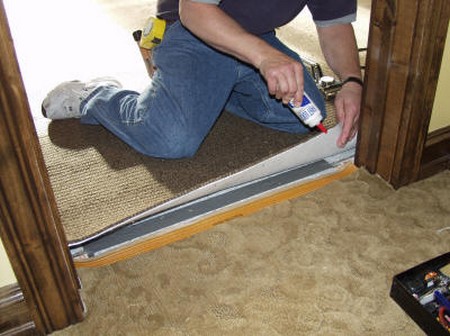
Apply a carpet adhesive. Put the adhesive on the exposed area of the new piece’s edges and backing. You can purchase carpet adhesives from your hardware store. Don’t tolerate stains and dirt in your carpet any longer and call Dan Dan The Carpet Man.
Step 5
Press the patch into the hole. Make sure you first fully stretch down the carpet. Make any adjustments necessary, then rough up the pile with a soft brush.
Step 6
Wait at least 12 hours until the adhesive dries before vacuuming.
Installation
Step 1
Prepare the room, making sure it’s clean to avoid lumps on your carpet.
Step 2
Begin in one corner of the room. Lay tackless strips around the perimeter of the room. Make sure the strips meet at the corners, ensuring exposure of the tacks. Tackless strips come in different heights and widths, so ensure you use the correct size.
Step 3
Measure the longest walls in your room. Add an extra four inches to allow for errors and pattern matching. Lay out the pad in the direction in which you want to install the carpet.
Step 4
Staple the padding near the tackless strips with a staple hammer. This will secure the padding and hold it in its place.
Step 5
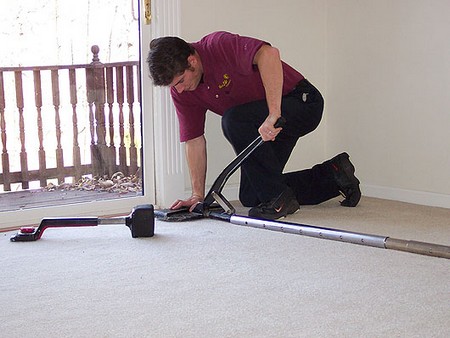
Roll out the carpet as straight as possible. Use a power stretcher to secure it to the tackless strips. Fill in the room.
Step 6
Stretch the carpet while stapling the seam of the pad. Make sure the two components butt tightly together. Use a knee kicker when attaching the carpet to the tackless strips.
Step 7
Trim the excess carpet along the wall with a utility knife or wall trimmer. Tuck the carpet down into the gap between the tackless strips and the wall with a stair tool.
Step 8
Cut out the vent openings when you have all the carpet in place. Install the shoe molding on the baseboard if desired.
Step 9
Walk around the room to apply pressure to the carpet and ensure you’ve securely tacked it.
Tips & Warnings
Remove any doors so you won’t have to work around them. This will make cutting the edges easier as well.
If you don’t have any old carpet pieces available, you may want to ask your carpet retailer if he has some spare off cuts.

