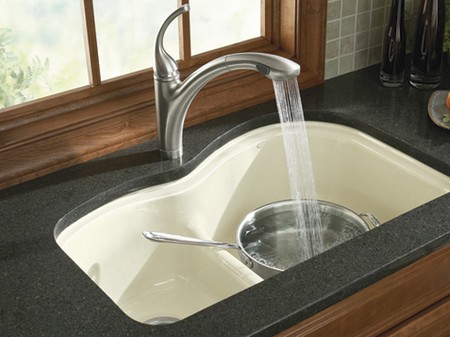
Self-rimming sinks are easy to install; they simply rest on the countertop and don’t require careful fitting and trimming. Still, cutting a big hole in the middle of a countertop is not a job for the timid, and putting the hole in the wrong place will ruin your day. Most new sinks come with templates to make the job easier, but even with a template you’ll have to pay attention to clearances in the front and back of the sink. I’ve found that sometimes the template can be shifted forward slightly, which leaves a little more room for the water-supply hookups when the sink is in place. If there isn’t a template, it’s possible to make one with cardboard, or if there is an old countertop that used the same sink, you can transfer the cutout to the new countertop.

Position the template on the countertop so that the cutout is properly located (you don’t want part of the sink to be contacting a curved surface, such as you would find on the front of a post-formed countertop). When the positioning looks correct, tape the template down so it won’t move but also so it will allow you to place masking tape underneath the cutout outline. While not absolutely necessary, masking tape makes it easier to see the outline on some types of countertops and can help prevent chipping as the cut is made.
I normally use a jigsaw with a high-quality blade appropriate for cutting plastic laminate to make the cutout, first drilling a pilot hole inside the cutout line. I’ve seen routers used to make this cut, though bigger routers (and some jigsaws) can’t usually make the cut near the backsplash because of the width of their base. The cutout should be supported as you make the cut so that it doesn’t fall away near the end and chip the laminate. A good way to do this is by hot-melt gluing or by screwing a couple of support strips to the underside of the countertop across the opening after the cut has been started. Some sinks will also have protrusions in the casting for the sink overflow that may require a notch in the cutout so that the sink sits flat in the opening.
If there are openings for the faucet in the sink, now is the time to install it before setting the sink onto the countertop. If you need an expert to assist you, hire the Auckland plumbers. Before setting the sink down, roll out a continuous snake of plumber’s putty around the opening, then press the sink down into place. Putty will squish out from the opening until the sink is down tight against the countertop. Some plumbers use adhesive caulk instead here, but if the sink needs to be removed later it will be hard to do without damaging the bowl or the countertop. After the sink is connected to the plumbing and drain lines and the plumber’s putty has been trimmed away, a small bead of silicone caulk around the perimeter, between the sink and the countertop, will ensure a watertight installation.