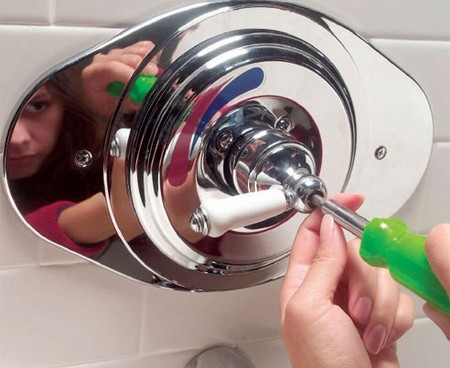
Nothing is more inconvenient than a shower faucet that barely outputs waters. When shower faucets become clogged with residue or soap scum just inside the sink piping, it stops the water from coming out the way it would with a new shower faucet. It’s hard to wash your hair out with a few drops of water. Instead of spending a large amount of time trying to clean out the shower faucet, it is far simpler just to replace it. Changing a shower faucet is very easy and the cost is reasonable. You can find a large selection of shower faucets at places like Home Depot or Wal-Mart. They are not expensive and you can follow the manufacturer’s instructions on how to install the product correctly. Here is how you can replace a shower faucet, quickly and easily. Read on to find out how.
Items You Will Need:
Pipe Brush
Wrench
Caulk (optional)
Shower Faucet
Step 1
Using the wrench to loosen and take the first faulty shower faucet. You will find a round connector piece. It will be bigger than the faucet and the pipe that leads to it. This is where you want to apply the wrench. Loosen completely.
Step 2
Clean your pipe. Use the pipe brush (this is athin brush that slides into to pipe with bristles) to reach into the bare pipe to brush and remove as much residue that has collected inside the pipe as you possibly can. You don’t have to do a perfect job or completely clean. Simply take out any big obects stops the water flow in any way.
Step 3
If you found the previuos shower faucet was a bit leaky, you can use the caulking to prevent the leaks this time with your new shower faucet. Place on the caulk. It goes on the screw side of your new shower faucet. You will apply caulk only if you you know that your previous faucet did have small leak. This caulking can make it hard to switch or repair the faucet int he future.
Step 4
Screw the new shower faucet on. Tighten the shower faucet with your hands. Make it as secure as possible manually. Then, use the wrench to tighten the shower faucet up. Make another quarter of a turn to make sure everything is secure. Do not over tighten or strip the faucet.
Step 5
Add some caulk the outter perimeter of the connector on the pipe. This will help seal the connection. It’s an optional addition. It also will not make it difficult for you to change the shower faucet if you should have to do it again.
Step 6
Test the shower faucet. Turn on the water. Check for leaks.
