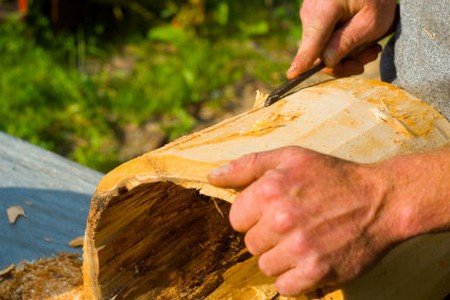
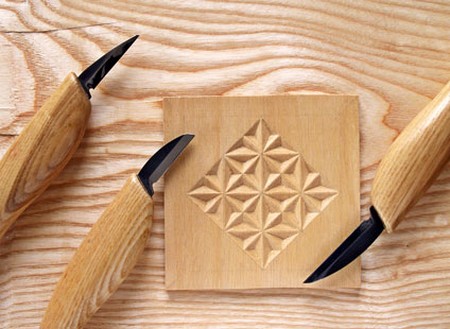
Wood carving is a popular hobby. Wood can be used to make unlimited objects that are practical, some whimsical and other nostalgic. You don’t have to be a professional to make some objects out of wood. Some people who enjoy wood carving take on large projects like making wooden doors, cabinets, ceiling moldings, bookcases and other tasks. Here is how you can get started learning to carve wood. Read on to find out more.
Procedure:
Items You Will Need:
Hammer
Wood
Pick
Carving tools
Chisel
Stain (decoration)
Pencil
Videos (instructional)
Tack Cloth
Graphite Paper
Sand paper
Books
Vacuum
Step 1
Choose the type of wood you want to start with. You may elect to use a softer wood f this is your first time carving wood.Butternut, Basswood or Aspen woods are all good choices.
Step 2
Make a carving tool set. Begin with a knife, for example, a paring knife. Place in a wood chisel and a pick. You will need to make sure all tools in your toolset are sharpened fully.
Step 3
Make your wood design. You may draw it directly on the wood with a pencil. You can also choose to use graphite paper to transfer the pattern. If this is your first wood carving experience and you’re just beginning, you should create the design very simple. There are nice simple designs like the four leaf clover shapes. You should practice the art of carving curved and straight lines.
Step 4
Begin carving your piece. You should begin from the top of the plan or design. Use a small knife to begin the carving. Move on a bigger utility knife. Upgrade to a sophisticated carving knife when you are able. Use the wood chisel to carve out the depth of your design. When carving a design, going in the same direction as the grain of the wood makes it easier to cut.
Step 5
Tap the top of the chisel to push the chisel through the wood with a hammer. Push the chisel across the piece very slowly when you are tapping it with the hammer. Move little by little to make sure you are following the guidelines drawn. Be careful not to hammer your hand using these tools. Use protective equipment like goggles and gloves.
Step 6
Use the vacuum to remove wood chippings and debris. Now look at the carved piece. Use a tack cloth to wipe the areas off. Continue to shape and improve the carved wood until all standards are met and it’s appealing to you. Smooth out any edges and splinters with the sand paper.
Step 7
Stain the carving. Enjoy the new wooden piece.

