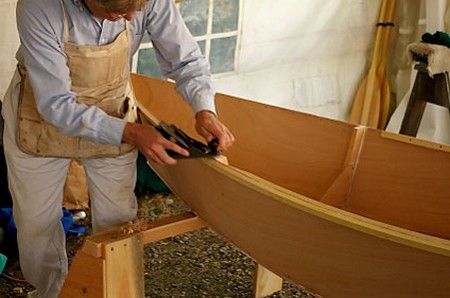
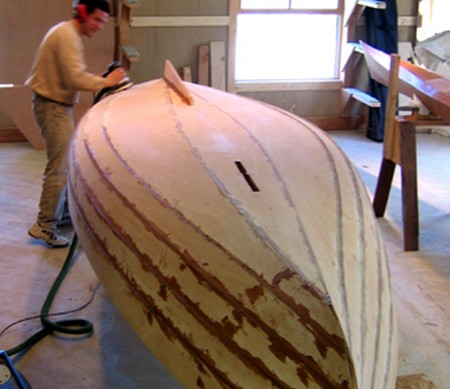
Taking on a project like making a wooden boat can be great for the whole family. It’s also a nice project to do alone if you have the time. Making a wooden boat is going to take time, patience and planning. Here is how you can make a wooden boat. Continue reading to learn how.
Procedure:
Items You Will Need:
- Paint Brush1
- 1×10 inch Wood Panels (Oak)
- Backsaw
- 1×4 Pine Wood
- 2 inch Nails
- Wood Screws
- 3/4 Oak Round Wood
- Hammer
2 inch wooden nails
- Caulking Gun/ Caulk
- Sealer (Waterproof)
Step 1
Take the 1 inch long piece of Oak wood and cut grooves into the side. Slice 1 ½ inch deep grooves with a back saw all down both sides of the wood. They need to be directly across from one another. This is the stem of your boat.
Step 2
Make the stern of the boat using 1 x 10 inch oak wood. Cut the lower portion of the stern to 22 inches wide (bottom) and 28 inches long. The stern total 30 inches in width from the tip to the bottom.
Step 3
Cut a 1 x 10 inch piece of pine. This is a cross brace for the stern. Make it 30 inches long. It must be flush. Use 2 inch wooden nails to put in on the stern.
Step 4
Cut 1×4 pine. Side ribs should measure 5 feet long. Cut three cross ribs from the 1×4 inch pine. Use wood screws to join them to the side ribs. This is the bottom of your boat.
Step 5
Cut six 30 inch pieces of 1×4 pine. Use wood screws to put them on the end of the bottom cross ribs The end of the 30 inch piece needs to be flush with rib. Use wood screws and insert them diagonally into the upright rib and bottom rib.
Step 6
Use 1 ½ inch screws to join the front of the rib to the stem. Bend the board slightly.
Step 7
.Secure the 1×10 inch oak board lumber to using 2 inch wood screws.Join the oak pieces across the ribs on the lower part. Butt the edges tight. Measure and cut boards as needed.
Step 8
Apply the 1×10 inch oak boards securely in palace. Puss the edges very firm against one another. Place the boards and stern together and secure them with wood screws. For the remainder of the boards use 2 inch nails to put thme in place. Repeat this step until both sides have been tightly secured.
Step 9
Place the stern at the open rear of the boat. Run caulk down the edging of the boards int he back. Add the stern while the caulking is not set and is still pliable.This seals the stem of the boat. Put the stern on with 2 inch screws. Join the ribs of the boat.
Step 10
Place a ¾ piece of oak on the boat on the outside. Begin a the stem and go around the entire top.
Step 11
Apply water proof sealant to all the joints. Allow the sealant to dry for one week.

