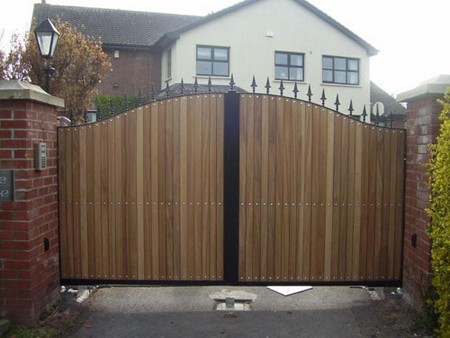
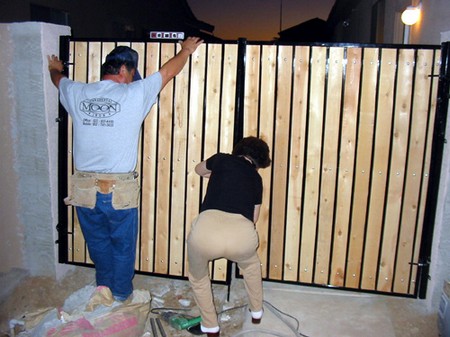
A gate’s 2 x 4 frame is the same on all fencing. It’s the cladding boards, pickets, or Lattice Screening that sets them apart from other gates.
You can make your automatic gate up to 4 feet wide and 6 feet high without affecting the fundamental construction of this project. If you need a wider opening, use double gates. For a taller gate, use 2x 6 framing.
The finished gate should have 1/2-inch clearance on each side. Allow a 1 inch to 4 inch clearance to the ground.
Expenses vary depending on what you like. Construction grade Redwood, Pine, Fir or Cedar for a 3 x 4 foot gate will cost approximately $75 if mounted with basic hardware. For the outdoors you can use wooden electric gates for driveways.
Step by Step
- Mark and Cut the Frame Pieces
Cut one 36 inch crosspiece and one 45 inch upright from the 8 foot stock.
- Assemble the Outer Frame
Work on a flat surface. Mark and drill pilot holes for the screws needed for the frame. Drill through the crosspieces into the ends of the uprights. Use 3 inch screws and adhesive to fasten the resulting butt joints. Now, measure the frame diagonally in both directions with a tape measure. Adjust the frame until square. Push to adjust.
- Add the Diagonal Brace
Lay the 6 foot 2 x 4 diagonally across the frame. Use a pencil to mark off cuts. Braces should be positioned from the bottom of the hinge side to the top of the latch side. Each brace should cut angled sothey fit upright. With a handsaw, trim the brace to size. Drill pilot holes and use adhesive and 2 ½ inch screws.

- Cover the Completed Frame
Cut your cladding material to cover the frame.
- Mount the Finished Gate
Align the hinges of the gate so they will not bend. Position the hinges so the screws go through the frame and the cladding. Next, place the frame on wood blocks to support it accurately in the gate opening. You may opt for wooden shingles or shims (thin strips of wood) if you need help centering the frame. Use a pen knife or pencil to transfer the measurements or location of the hinges on the frame to the post or wall the gate will be a part of.
Now, remove the frame. Use the holes in the other hinge leaf to identify and mark the positions of the screw holes in the post or wall where the gate will hang. Drill pilot holes. Finally, support the gate in position again, and screw the hinges to the post or wall.
Drilling pilot holes first, attach the latch, the catch and any other hardware remaining. Now you have a well built gate.
Do you also want an automatic gate? Give us a call if you consider to have it.
