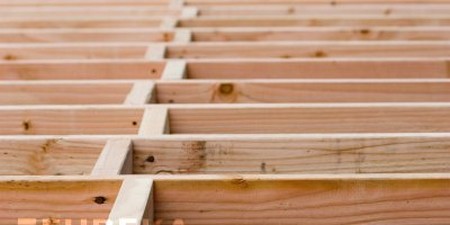
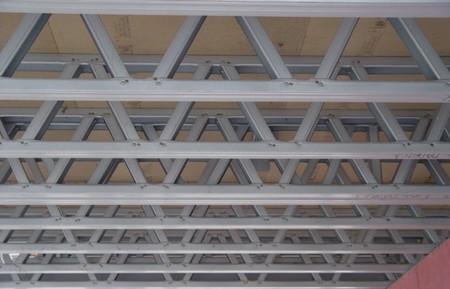
Floor joists are important structural elements of a house. Being load-bearing, their size and spacing in new structures is strictly specified by the Building Regulations and they must satisfy a Building Control Officer. But for most domestic repairs or replacements the rule of thumb guide is adequate. Usually calculations are not necessary; matching new timber for old in size should suffice.
Use ‘structurally graded’ timber; it has been expertly examined or machine tested. Two common grades are marked with coloured code letters. A purple SS is the grade mark of ‘special structural timber’, used for joists. A green GS indicates ‘general structural timber’, for general framing but also joists. MSS and MGS denote machine-graded timber to the some specification. And did you know that you can buy flooring that has acoustic insulation, and so will prevent sound from getting through it? It’s very useful when you want to prevent noise in a building!

Fitting services
Service runs like heating pipes and electric cables can run in the void below a suspended ground floor, but those running at right angles to the joists in upper floors must pass through the joists, which are covered by flooring above and a ceiling below.
So as not to weaken joists the holes for cables should centre on the joist’s depth, in any event at least 50mm (2in) below the top surface to clear floor nails, and always within the middle two thirds of the joist’s length.
Notches for pipe runs in the top edge should be no deeper than one eighth the depth of the joist and within a quarter of the joist’s length at each end. Make notches by drilling through the joist, then sawing down to the hole.
Repairing joists
Floor joists which have been seriously attacked by wet rot, dry rot or insect infestation have to be cut out and replaced. Such attack usually occurs at ground floor level because of its closeness to the damp soil. If the damage is extensive, or if the upper floors are also affected, you should really call in an expert, but if it is localised and not too serious you can deal with it yourself.
Remove the skirtings and lift the floorboards over the infected area until you reach a sleeper wall. Test the condition of the wood – joists, floorboards and skirting boards – by spiking it with a sharp knife. If the blade penetrates easily the wood will have to be replaced. Sound wood can be chemically treated to kill rot spores or wood-boring insect larvae.
Preparation
The damp conditions which have caused the outbreak of wet or dry rot must themselves be identified and corrected before any remedial work on the timbers is carried out.
All infected timbers must be removed in an area extending at least 450mm (1 ft 6in) beyond the last visible signs of attack, and all surrounding masonry must be treated with a fungicide. Burn all the infected timber. The following assumes that the end of a joist and perhaps also the wall plate are affected.
Saw through and remove the infected end of the joist, cutting it back to the centre of the nearest sleeper wall. If the wall plate which has been supporting the joist is also affected, cut it away. If the wall plate is built into the brickwork, drill a series of holes into its edge and finish cutting it away with a wood chisel and mallet, trimming the remaining ends square. Wall plates on sleeper walls are simply cut with a saw.
Replacement
Cut a new length of wall plate timber to fill the gap and treat it thoroughly with wood preservative.
If the original mortar bed joint and damp-proof course are undamaged, apply a coating of liquid bituminous damp-proofing over it and put the new section of wall plate into place.

If necessary, re-lay the bed joint and insert a new length of DPC, making sure that its ends overlap the ends of the old one, if present, by at least 150mm (6in). Then reseat the wall plate.
Now cut a length of new joist to sit on the repaired wall plate and meet the cut end of the old joist on the sleeper wall. Treat it well with the timber preservative. To ensure that it is level with the other joists, trim its underside or pack it with DPC felt.
Brace the joint with two 1m (3ft) lengths of joist timber – also treated -on each side and bolt through with four coach bolts and two timber connectors for each bolt. Finally replace the floorboards and skirtings.