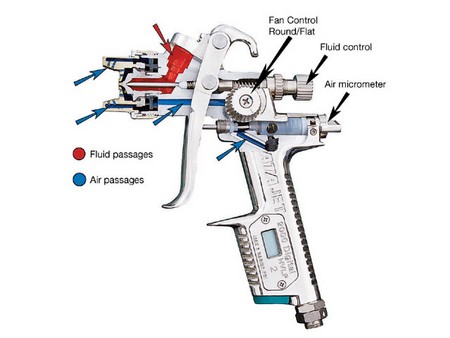
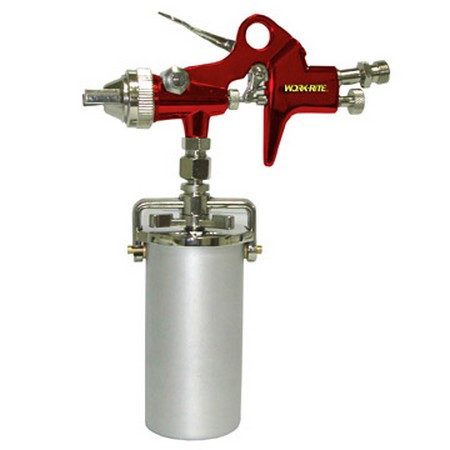
Spray guns are most suited to spraying cellulose paint but can be used for emulsion and oil-based paints as well – sometimes, these require a different nozzle.
Most spray guns can also be used for spraying insecticides and wood preservatives. In all cases, cleaning out the gun thoroughly after use is essential.
In order to get a good finish, a spray gun has to produce a good spray pattern which is broad and even and fades away evenly (and quite sharply) at the top and bottom enabling you to pass along the surface in only slightly overlapping bands. Fan-shaped nozzles tend to produce a more even spray than the usual round ones. The paint must be properly atomised, that is have small evenly sized particles which just blend together to form a uniform coat of paint. How well a spray gun atomises the paint depends partly on the design of the gun. but it is also affected by the viscosity (thickness) of the paint being used the thicker the paint, the more difficult it will be for the gun to break it up into small particles. If the paint is too thin, it may not cover the surface properly.

To get the correct viscosity, the paint has to be thinned with water for emulsion paint, with white spirit for oil-based paints and with cellulose thinners for cellulose paint. Many spray gun manufacturers provide a viscosity cup to check the viscosity the cup is filled with thinned paint and the time in seconds for it to empty through a hole in the bottom is noted. The paint is thinned until the correct lime usually recommended by the paint manufacturer is reached.
Spray guns are not ideally suited to emulsion paint they tend to clog and il may be almost as quick to use a roller. They are good however for gelling oil-based paints into awkwardly shaped objects like old-fashioned radiators or louvre doors. Because the spray can gel on to adjacent surfaces, it is best to take objects to be painted outside or into the garage. On cars, the areas that you do not want to paint have to be masked off with newspaper and masking tape it is best to start the masking at the edge of a panel or at a ridge in the bodywork so that there is less chance of noticing slight differences in shade.
Safety note
Apart from avoiding ‘injection’ by a high-pressure airless spray gun, there are precautions which you should take when using any spray gun. The most important precaution is to work in a well-ventilated space the fine paint mist and fumes can be dangerous. A simple face mask is a sensible addition. Some paints are also inflammable, so spraying should never be done near a naked flame and you should not smoke while spraying.
How to spray
Surface preparation is as important with a spray gun as with any other kind of paint applicators. For car bodies, the paint is rubbed down with Wet or Dry abrasive paper, used wet. For small areas, the edges must blend in with the existing paintwork. Where paintwork is rubbed down to bare metal, primer must be used.
Once the areas that you don’t want to paint have been masked off, you can start spraying. A spray gun should be kept as horizontal as possible and the nozzle at right-angles to the surface being sprayed. For surfaces other than vertical or near-vertical ones, you can get a flexible extension nozzle or an angle nozzle to allow the gun to be used horizontally.
Spraying is carried out in a series of bands, each of which is done in one ‘pass’ of the gun. It is important to keep the gun al the same distance throughout the pass and that it is moving and spraying as it reaches and leaves the area to be sprayed. This takes a bit of practice which can be done on an old piece of board before starting in earnest.

Common faults with cellulose are:
- horizontal streaks caused by passes not overlapping properly
- rough surface finish or ‘pinholes’ caused by spraying too far away or when the weather is too hot so that the paint dries before it reaches the surface
- ‘orange peel’ texture caused by paint being too thick or the gun not moving fast enough or the nozzle being too close or at an angle to the surface
- runs caused by applying too much paint too thickly.
- Some of these faults can be rectified by spraying over the defect with several light coats of thinned paint.