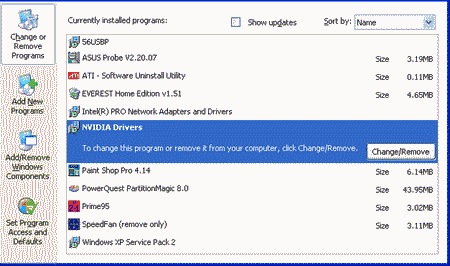
Driver is a program that lets the operating system communicate with the computer hardware. Computer parts need a driver because they do not use standard commands. Different operating systems also need different drivers; a driver written for Linux cannot be used by Microsoft Windows. Without drivers, the system cannot work properly. They are used to integrate the various hardware devices together. Sometime you need to remove your older version of the driver to replace with the new one. The following steps will be useful to remove a standard driver from your computer.
Procedure:
Go to My Computer Directory
Double click on “My Computer.” which is usually on your desktop. If it is not in the desktop, then go to start menu and check for My Computer. Then click once on “Start” menu “My Computer” and click once on it. My Computer is like a single directory which consists of a big folder. It consists of all local drivers installed in your computer. Click once on your local disk. The disk will have a letter next to it, and usually looks like this: “Local Disk (C:).”
If you navigate hover your any one of the local disk it will display the size and name of that particular disk. If you once right click on any local disk, you can see a list of operations that can be done on that particular disk. In that list, go to “Properties” and click once on it.
Open Device Manager
Once again, the properties also have its own list of operations that it can perform. It consists of series of tabs which pertains to different parts of system. From that click once on “Hardware” tab. This hardware tab again contains three different sections as device manager, hardware profiles and drivers. Click once on the drive that has “Disk drives” under “Type.”
Device properties
All the installed devices will be displayed on the device manager page. The tree view gives you the complete structure of all the devices which are installed in your computer. You just select the driver which you wish to do some operation. Click once on “Properties” at the bottom right of the “Hardware” tab.
Remove the Driver
Click on the “Driver” tab in the “Properties” dialog box and click “Uninstall.” A warning will pop up letting you know that you are about to uninstall the device from your system. Click “OK” to uninstall the device and “Cancel” if you do not want to uninstall the standard driver. Click “OK” to close each dialog box.
