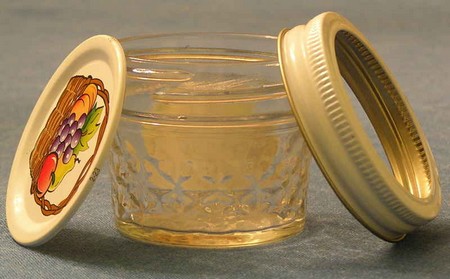
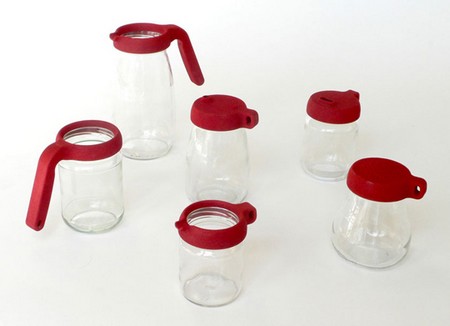
When you shop at places like the farmer’s market. The containers your food items come in can be put to good reuse. You can reuse the jars themselves and they also can be sterilized. The tops of these containers, can not be. You can use these lids for craft and science projects, or collect them along with your other disposables to sell at a scrap metal recycling shop. You have have the children make magnets to decorate the refrigerator or make ornaments to decorate their bedrooms.
Things You’ll Need:
- Scrap paper (newspaper can be used)
- Used canning lid
- Hammer
- Nail
- Scrap wood
- Clean metal primer (Rust-Oleum makes it in spray paint form)
- Arts and crafts paints (can be purchased at any craft store)
- Paint brush
- Pencil
- Scissors
- Sandpaper
- Glue
- Ribbon
- Magnet
- Mod podge
- Family photo, scrap paper, or decorative ribbon
- Jewels (optional)
- Glitter (optional)
- Painted Canning Lid Magnet
Step 1
Prepare your work place. Primer the lids with spray. Allow the primed lids to dry over a period of 24 hours. The primer makes the paint adhere to your leftover lids.
Step 2
Turn your prime over face down. Adhere the magnet to the reverse side with glue.
Step 3
Turn the lid over again. Paint the lid the color of your choice using arts and craft paint. You can let the children create their own abstract designs or stripped lids. The possibilities are endless.
Step 4
At this stage you can add glitter, jewels or poms poms if you desire. Allow these things to dry for a day. Then, they are aready to hang on the refrigerator.
Canning Lid Ornament
Step 1
Lay your left over lid on a piece of wood you use for scrap. Place a nail center top of your lid. Hammer the nail in puncturing the lid. This is the hole you wil use to hang your ornament.
Step 2
Take some sandpaper or steel wool to scratch the surface of the lid. Make it rough.
Step 3
If you want to glue an image to your top print the image out. Use a pencil to draw a circle around the image so that it fits on the surface of the lid. Use a pair of scissors to cut the image out.
Step 4
Place the picture on top of your refurbished lid. Now, use a think layer of mod podge on the back of the image and the top of the lid’s surface. Stick the picture onto the lid. Allow the image to dry for about 2 hours.
Step 5
Go over your image with another thin layer of mod podge. This helps to prevent the picture from fading. Allow the image to dry for another 24 hours.
Step 6
Turn your lid over and find the hole you made in the beginning. Take a paper clip and pierce the paper through to the other side. Place a decorative string through the hole. Tie a pretty bow. Your ornament is ready to display.

