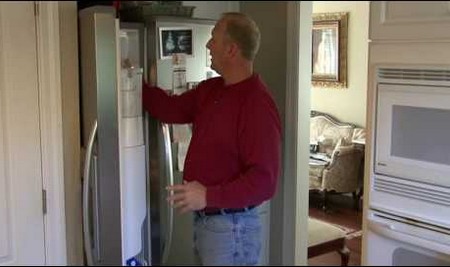
When something goes wrong with any refrigerator, it’s a cause for worry for a lot of people. People care concerned with storing their food properly and making sure there is no risk of contamination. If you have a case where you realize your refrigerator has a leak, you have options. You can either hire an appliance repair service or try to fix it yourself. These cases don’t usually require that you replace the refrigerator completely, although you might want to take a look at clearance appliances as there might be a nice upgrade within your budget that could just as easily do the trick. If there is water in the refrigerator on the bottom or water underneath the front of the appliance then, you have a leak. It’s likely caused by your drain hose. The hose transports water from the freezer to the drip pan. If it is clogged you may spring a leak. This leak isn’t a major fix but if you aren’t comfortable working on your refrigerator, you can always get Melbourne fridge repairs from a professional.
Here is how you can repair a leaking refrigerator.
Instructions
Items You Will Use:
- Bowl Or Pot (medium)
- Pipe Cleaner or Wire
- Phillips Screwdriver
- Hot Water
Step 1
Make sure the refrigerator in NOT plugged into an electrical outlet when you begin to work. You will have to do some work at the rear and bottom of the appliance.
Step 2
Take out all food and ice from the freezer. Find the back panel. You’ll find about 6 screws in the rear of your freezer. This is the panel.
Step 3
Use the Phillips screwdriver to take out the screws. If you have an automatic icemaker detach it as well. You’ll find it is help in place by plastic wiring connectors. After the icemaker has been taken out, the panel is easily removed. Sit this panel on the side.
Step 4
Look for evaporator coils. They visually look like an accordion. There is a drain hole beneath the coils. If the drain hole is covered in ice, it will impede the water flow process. Drip hot water over the hole to melt any ice crystals that have formed.
Step 5
Find the drain hose located in the rear of the refrigerator. The drain hose will be clear or white and measure about ½ inch to ¾ inches in diameter. It has an elbow fitting that attaches it to the freezer. Detach the hose and clean it out. Use a pipe cleaner or long wire to get rid of any clogging material.
Step 6
Now, detach the drain hose beneath the refrigerator. Put the hose in a bowl. Drip hot mater carefully into the hose to help rid the hose of clogging.
Step 7
Put everything back where you found it. Connect the hose properly and securely. Also, the ice maker and panel should be put back in their respective places. Make sure all the hoses are tightened and take care not to strip the screws when replacing the panel.
These tips should help fix your leaking refrigerator. However, if you find yourself dealing with the same issue a few weeks or months later, it may be time to call in appliance repair services to have the problem fixed right away. As you can imagine, appliance repair will more often than not require an experienced professional. Consider looking for one to help you to ensure your refrigerator or other appliance will work at full efficiency for much longer, saving you from having to invest in a replacement.
