Painting should be the last job, after everything else is finished. You should first clean up, being sure to get rid of all dirt and dust. Only then should you start painting. In many renovations, even if you hire everything else out, you’ll do the painting yourself. There’s nothing wrong with this, but a few tips can help.
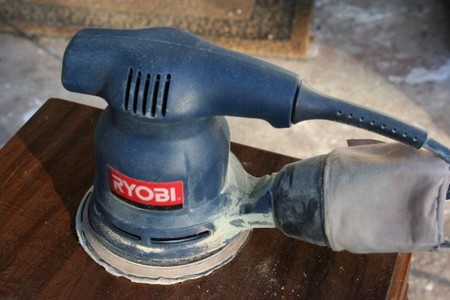
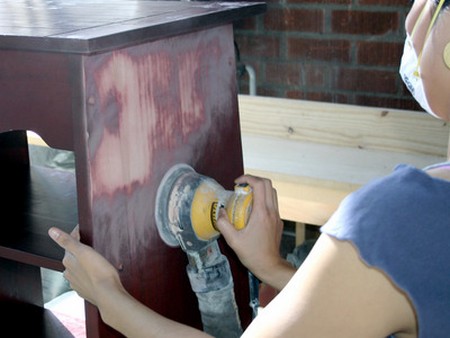
You may not need to take off the old paint. If the old surface is in good shape, all you may need to do is to remove any loose, flaky paint. Usually a paint scraper, available at any hardware store, will do the job. If you remove some chips of paint, sand the surface to make it uniform before painting. (If there are low spots or holes, you will want to caulk these before sanding.)

On the other hand, sometimes the existing paint is simply thick with old layers; it’s got wrinkles in it or “alligator” cracks. If that’s the case, you’ll need to remove it—and that can be a hassle.
Sandpaper, first coarse then light, should be your first approach. If it easily gets rid of the old problem paint, consider yourself lucky. If not, you need a harsher tactic—stripping. There are a variety of chemical strippers available. In my experience, all are messy and most are smelly and require gloves. Sometimes it’s simpler just to go back and lean more heavily on that paint scraper.
If all else fails, you can use heat from a torch. This will lift or bubble many paints so that you can easily strip them off with a putty knife. But be careful not to burn the underlying surface—or yourself. Also, be sure not to leave any debris lying around, since it could easily catch fire.
Be wary of heat-stripping paint from an older house. Prior to 1978, lead was a common additive in paint. When you heat or burn lead-base paint, the lead can be released into the atmosphere. Inhale enough of it, and you or others could get lead poisoning—a deadly serious illness. Also beware of breathing in the dust created when sanding old paint.
What about Preparing the Surface?
All paint cans will tell you about their warranty, and one thing they inevitably say is that the warranty is valid only if the surface is properly prepared. That means you’ve sanded and filled to produce a smooth surface; then you primed that surface with a primer designed to work with the paint you have. Only now are you ready to apply the paint.
Smoothing the surface requires applying some sort of filler. There are a great many available. One of my favorites for filling in small holes is a lightweight, white, creamlike spackle found under many brand names. It is ready to use out of the container, will not expand or contract when it dries, and is easily paintable.

For grooves you will want a caulk that is squeezed from a tube, usually with a caulking gun. Latex caulks are the easiest to use, but be sure they are paintable. For sealing around wet areas, nothing is better than silicone caulk. It adheres tightly and almost never comes loose. However, often it cannot be painted, so you’re stuck with the color that comes out.