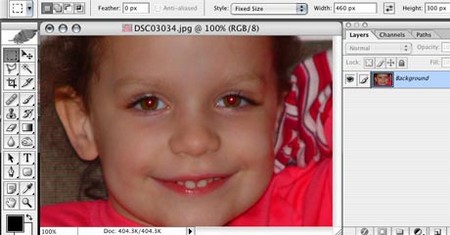
When taking group shots, the photographer cannot give everyone at the shoot his undivided attention, and so it is common to find one or two persons with their eyes closed in group photos. To make matters worst, group photos are usually taken to remember a special time or event. So if you find your subject’s eyes closed in a special or important photograph, try this technique for opening closed eyes.
- Select [File]-[Open] from the menu bar. The Open dialog box appears.
- Open two images. The subject’s eyes must be closed in the first file and opened in the second. We will use the opened eyes to rectify the problem in the first picture.

- Select the Lasso Tool from the toolbar. Set Feather to 7 pixels.
- Select the eyes in the first image.
- Select the Move Tool from the toolbox. Click and drag the eyes from the first image to the second image.
- Select [Image]-[Rotate]-[Flip Layer Horizontal] from the menu bar. This flips the newly added eyes horizontally so that they are oriented the same way as the face.
- Select [Image]-[Transform]-[Free Transform] from the menu bar or press [Ctrl] + [T]. The Free Transform bounding box appears.
- Place the pointer over a handle at one of the corner. The pointer changes to a double-headed arrow.
- Hold down the [Alt] + [Shift] keys and drag the handle inward until the new set of eyes fits into the face. Press Enter.
- Press [Ctrl] + [+] several times to zoom into the eyes. Select the Move Tool from the toolbox and adjust the position of the eyes.
- As you can see, the eyes are much brighter than the rest of the image. Let’s fix this using the Levels command. Select [Enhance]-[Adjust Brightness/Contrast]-[Levels] from the menu bar or press [Ctrl] + [L]. In the Levels dialog box, enter 23, 0.77, and 255 in the Input Levels text boxes, respectively. Click OK.
- Select the Eraser Tool from the toolbox. In the options bar, set Size to 30 pixels and Opacity to 50%.
- Use the Eraser Tool to erase as much of the skin as possible, leaving the eyes untouched. This will minimize the difference in skin tone and make the face look more natural.
- Press [Ctrl] + [0] to view the entire image.
- Select [Layer]-[Flatten Image] from the menu bar. This combines the two layers into one.