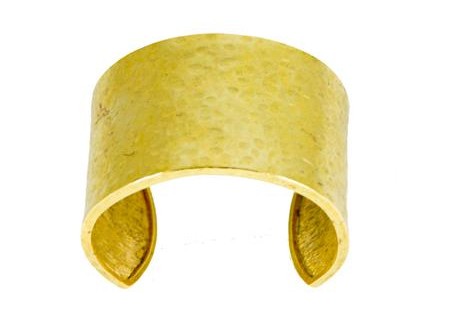
Everyone loves custom made jewelry. If you are looking to add a few statement pieces to your collection then consider doing it yourself. Hammered metal bracelets are bold and eccentric and sure to catch the attention of everyone-in a stunning way. If you have the tools the you can do the job.
Tools you’ll need:
- Sheet of sterling silver
- Metal cutting shears
- Anvil
- Rawhide hammer
- File
- Fabric piece
- Ball-peen hammer
- Bracelet mandrel
- Dremel
Step 1
Start with your metal work. Cut your sterling silver into a 6 inch long and ½ inch wide piece. Be careful when using your metal shears to cut into the metal. Don’t panic if the metal gets bent slightly during the cutting process. If it does, use your rawhide hammer to flatten it out to the original shape again.
Step 2
Cut off the sharp edges of your newly cut metal. Don’t cut too much. Cut as little as possible but remove the edges.
Step 3
File your sterling silver piece. Make sure you pay attention to the clipped ends. They should be filed until smooth and rounded. Each side should be filed as well. You want to make sure your metal is completely smooth and doesn’t have any spurs on it that could snag clothing when worn or make it uncomfortable to wear against skin. To do this take any piece of fabric a go over the surface of the metal. Take note if the fabric is snagged anywhere. File until there are no inhibitions.
Step 4
Give your metal some panache. Hold the sterling silver against the anvil. Take your ball-peen hammer and use the rounded edge to give some life to your sterling silver piece. The ball-peen hammer allows you to tap dents into the metal for a distinctive texture and look.
Step 5
Shape. Use a mandrel to give your bracelet its shape. The shape of the bracelet doesn’t matter. An oval or a circular mandrel will work. Press the sterling silver around the top of the mandrel. Bend the bracelet into shape until you can no longer move it. After this point, use the rawhide hammer to tap the remaining space out.
Step 6
Test your new bracelet out. Take note of any adjustments that need to be made. If you need to adjust size of the opening simply do it manually. Your new custom bracelet should have some freedom to move up and down the forearm.
Step 7
Add some shine. Polish your sterling silver design using a dremel. Simply move the dremel along the bracelet to polish the dull service to a shine.
