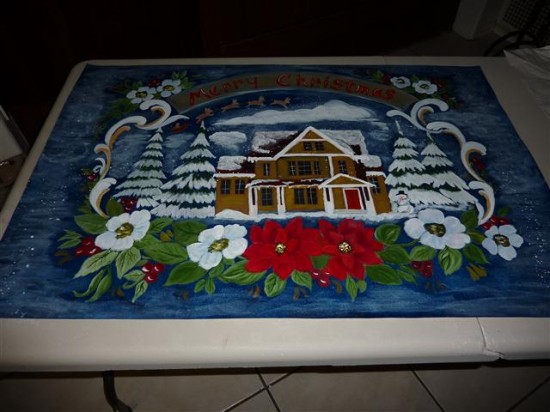
This brightly colored floor cloth has been achieved with acrylic paint and is extremely practical. Cut to fit a staircase, it can be taken up when you move home.
Floor cloths arc made of a canvas cloth cut to size and then primed, painted and sealed. They were often used in the eighteenth century and are now becoming popular again. Like rugs they are not permanently fixed to the floor, so you can take them with you when you move and can even repaint them. With a varnished finish floor cloths are not only durable, but wipeable too.
Floor cloths can be given all manner of decorative ideas, styles and colors. I sealed this cloth with a light flexible gel, and then applied artists’ acrylic colors. These colors tend to be purer and stronger than decorators’ emulsion-based paints. As they are applied to a sealed surface only a little color is needed.

The cloth shown here was cut to fit the width and length of the stairs and then held in place with standard stair rods. Cloth can be cut to any shape and size – you could even make up one great big cloth to fit an entire room.
Day One
- Measure out the size of cloth required from 500 g (18 oz ) cotton duck canvas and mark this with tailors’ chalk.
- Cut the cloth, leaving about 2 cm all round to turn under as a hem later.
- Seal the whole cloth with two coats of acrylic soft gel, applying it with a paintbrush. Make sure you cover the canvas completely as any parts you miss will show up later and spoil the surface of the cloth.
- Prepare the base color of diluted acrylic paint; I used a bright green. Squirt some acrylic paint into a bucket and slowly add water to dilute it.
- Apply the acrylic mix to the floor cloth in a horizontal direction.
- Change the color slightly by adding different greens to the acrylic mix.
- Apply the new color, blending this in with your brush to achieve lighter and darker tones.
- Once this base color is dry, apply fabric glue along the back edges of the floor cloth.
- Firmly stick down the edges.
Day Two
- Plan the top design, marking out circular flower shapes with chalk dots.
- With a thin brush, join these dots and paint them in to form the shapes of petals of flowers.
- Go over the flowers with a slightly different color to give more definition.
- Paint in the centre circles of the flowers.
- Once all the flowers are complete, add other dots and lines to balance the overall pattern.
- Once dry, apply two coats of acrylic top coat varnish, allowing to dry between each coat.