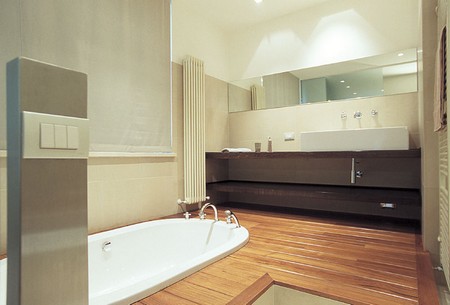
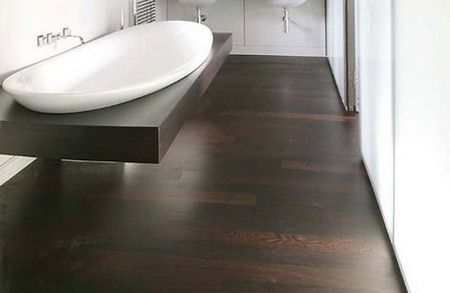
If you’ve ever seen a wood floor with cupped boards, big gaps, or buckling, you’ve seen a wood floor that has responded to very wide variations in humidity. Seasonal variation is normal, but uncontrolled humidity from any number of sources—a damp basement, water spilled from a bathtub, overspray and humidity from a shower—can stress a wood floor’s ability to absorb and release moisture. And because a bathroom environment is, by definition, a wet one, the bias against wood flooring there is understandable. But wood floors can be detailed to limit moisture absorption and can serve well in the right kind of bathroom.

For a wood floor in any part of the house, a felt-paper underlayment is the first line of defense against moisture getting to it from underneath. As with resilient flooring, mark joist locations on the wall before rolling out the felt paper. After the paper is stapled down with about a 2-in. overlap, I like to snap lines to indicate the joists and make it easier to hit them when nailing the flooring down. Besides keeping moisture from migrating into flooring from underneath, the felt-paper underlayment also helps to protect against squeaking floors.
Cupping and buckling is caused by uneven moisture absorption, usually from the underside of the floor. The floor finish protects the surface of the wood flooring and its exposure to air allows it to dry out quickly, but the edges and underside of the flooring are usually unprotected from moisture and dry out more slowly. Prefinishing these areas with a moisture-inhibiting finish like a urethane varnish will make a big difference in the amount of moisture the flooring can absorb. Water-based polyurethane is handy because it dries quickly, making the tedious task of back-priming a little easier and less messy.

It is often difficult to sand a wood floor in the tight confines of a bathroom. I’ve gotten good results using a belt sander and a random-orbit sander when the big floor sander just wouldn’t fit. I try to use the edging sander sparingly, as it tends to leave swirls and an uneven surface that are especially noticeable in highly visible areas, such as right in front of the tub.