Tile installation depends on whether you are working with counter-tops, walls, or floors.
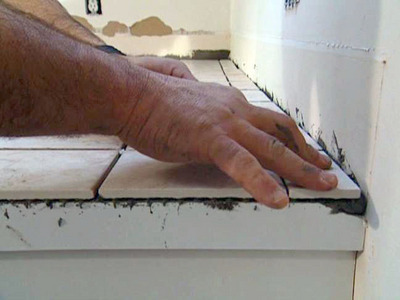
When counter tiles are installed, a substantial portion of the work will involve the edges. You’ll probably want to use some sort of specialty trim. Edge tiles are available in a great variety of designs, from V-cap to bullnose. However, not all tile designs have all possible trim. Be sure to make sure that any trim design you choose is available toi your tile color and style.

Cut as few tiles as possible. The fewer the cuts, the easier the laydown and the better the final appearance. Try not to cut pieces smaller than half the size of a full tile. They end up looking as though you were trying to cover up a mistake.
Avoid awkward small-tile areas, particularly around sinks. Be sure that the cut tiles on one side of a sink are the same size as those on the other. Always position the cut edge of a tile near the wall, not at the tip of the counter.
When measuring a countertop, first calculate the space W required for the trim pieces. Only then measure how much room you’ll have available for the flat tile.

Using wood trim instead of tile on countertops creates a Scandinavian look that is much admired in some corners. If you go this route, be sure to leave only as much space between the wood and the first row of tile as you do between any two rows of tiles. You may have to cut through the wood base of the counter to trim the top in order to make the border fit. Also, be sure that there is a way to anchor the wood border. Use brass screws if possible; if you just nail in the border, it may later separate from the counter. Finally, be sure that the wood border is no higher than the surrounding tiles and that you stain the wood before you grout; if you don’t, the chemicals in the grout will discolor it.