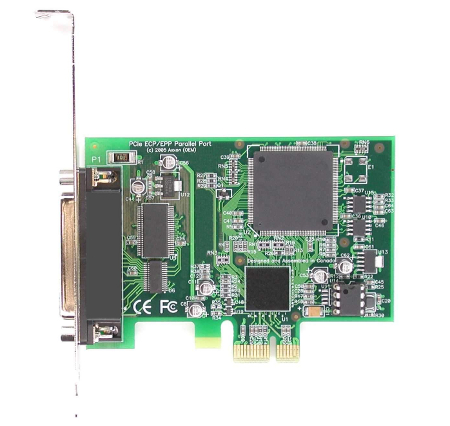
If your motherboard does not have built-in eSATA, FireWire, or USB 2.0 ports, it’s the right time to add a port adapter card. This card usually has at least two ports on the back of the card itself, while some allow you to add a cable that take up a port to add extra ports. While something like this may seem simple enough, we nonetheless suggest using services from companies like Viavi Solutions to help in the process.
The adapter card manual may also fill you in on a DIP (dual inline package) switch or jumper setting that must to be configured beforehand. Now it’s the right time to adjust any required jumper settings, before your port adapter card is mashed between other adapter cards. Luckily, for most port adapter cards, the factory default setting is usually just what you need though it never hurts to check your manual first.

To install a port adapter card, follow these steps:
Procedure:
- You shouldn’t handle anything inside the computer case until you touch a grounded metal surface. Maybe, you’ve been shuffling through that deep, plush carpet recently; that will build up a lot of static. Dissipate your body of harmful electrostatic energy.
- Haul the open computer case on a flat work surface. Make sure it’s unplugged.
- Find an unused adapter card slot (PCI or ISA) on your motherboard
- Grab your trusty screwdriver; remove the screws and the slot cover on the back of the computer case.
PCI (Peripheral Component Interconnect) is the shorter slot, and ISA (Industry Standard Architecture) slot is twice as long. Because FireWire and USB port adapter cards are mostly PCI, you need to find an empty PCI slot. Also, be sure that notches cut into the card connectors fit with any spacers within the PCI slot. Those spacers will ensure that you won’t stick an ISA card into a PCI slot.
- Keep the slot cover into the parts box. You might need it later to close your computer case if you decide to remove the adapter card. If you have not installed any slot covers on the empty slots, just skip this step.
- Hold the adapter card on the top corners and then align the card connector card with the empty slot on your motherboard. The screw hole on card’s metal bracket must be properly aligned with the screw hole that is left open when you removed the metal slot cover. If your adapter card connectors do not fit into the slot, maybe you’re trying to install the wrong type of adapter card into the wrong type of slot. Look for an empty slot that has matching notches with your card connectors.
- Alright, are you ready to install the adapter card? If so, gently apply even pressure on the top of the adapter card and push it down carefully into the empty slot of your motherboard. Sometimes, you won’t hear a click, but you should know when your adapter card is firmly seated. The bracket will be resting tightly against the computer case.
- Add the screw that is removed in Step 4 above and use it to tighten down the bracket – remember not to overtighten it.