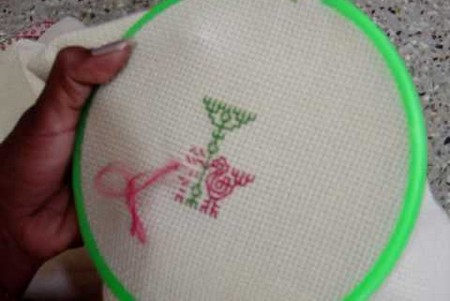
Embroidery is such a beautiful accent to many things. It can liven up the most drab of fashion choices and turn it into a thing of complete elegance. The decorative art of embroidery is something worth learning. There are many different kinds of embroidery stitching and accents that can be used. This is the art of decorating with designs using a needle and some yarn or even thread. Some decorative embroidery actually serves as reinforcement for the object it is stitched on. Actually, the origins are not clear but the historical presence is undeniable. Here is how you can learn to do embroidery yourself. Follow these simple instructions and you will be on your way. If you want to learn it from a professional, visit the oasis needlepoint studios. For more inspiration, you can also check out this helpful feature: https://northpennnow.com/news/2025/nov/13/best-embroidery-company-in-boise/. Read on for more information.
Instructions
Items You Will Need:
- Needle
- Thread
- Garment
Step 1
The first stitch at hand is a common one. It is used to make emphasize things by outlining them, they make solid lines on garments, and are even how many people make decorative things like flower stems. The choice of thread is completely up to you. You can match the thread with the garment itself, or feel free to use contrasting colors. This stitch will change according to the shape and the size of the complete embroidered design. Some details will be design to be smaller on the surface of the object than other parts of the complete design will necessarily have to appear larger to fully accomplish the look, goal and feel.
Step 2
Some people who enjoy doing embroidery feel like it may be better to utilize a single thread as opposed to doubling the thread. This is also a common technique. Some even go so far as to use three or more threads to complete and embroidery design. If you wanted to sew a stem stitch, begin at the part in your design closest in proximity to you. Now sew with your needle coming in your actual direction. The thread needs to always be on the same side as the needle when you are trying to accomplish a close knit stem. Sew with the thread forming a twist. Do this by beginning a few short stitches and then move the needle towards the outer end of the stitch line.
Step 3
Utilize a short stitch that measures 1/8 to 1/16 in length. Put the needle inside the dashed and line and gently pull it out in the same point where you began from. The stitch following should be sewn pulling your needle through end point where the very first stitch is located.
These pointers should get you well on your way to begin embroidery.
