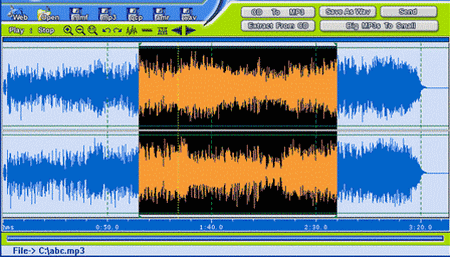
The MP3 format music files are more popular and the compressed-audio formats available. Files are just compressed mainly to reduce the size or storage capacity on the disk, but this may lead to the loss in quality of the music. Depending on the nature and quality of the encoding is done, the music on the MP3 formats will range from the CD quality to that to a garbled and low-fidelity recording. The WAV files are just uncompressed files which retains all of its quality from the original file format. Converting an MP3 to WAV file is to burn them in a good CD. The following are some instructions to be noted before converting to WAV formats:
If the operating system is LINUX then the first step is to open the Ubuntu. Then click “System,” option and “Administration” and then the “Synaptic Package Manager” option.

The second step is to type the word “Sound Converter” inside the “Quick Search” small box on the window of “Synaptic Package Manager”. An ordered list of the search results will now appear. Now sort out the list by selecting the “Package” option header. Then click the check out box which is at the left of the “sound converter.” Next click the “Mark for Installation” option and select “Mark” option.
The third step is to type “gstreamer” word again inside the “Quick Search” small box. Sort out the searched results by selecting the “Package” option header. Then click the check out box which is located to the left side of the “gstreamers0.10-plug-ins-ugly-multiverse” option (The number which is in the name of the file is the version number and if those numbers are different, no problem that is also okay). Next click to the “Mark for Installation,” option and give a tick mark to the option “Mark.”
The fourth step is to click the option “Apply” button which is located near the screen on the top. Now the “Synaptic Package Manager” would automatically install both the “Sound Converter” and also the necessary plug-ins.
The fifth step is to close the window “Synaptic Package Manager” to run the “Sound Converter.” Just click the “Add File” option which is at the upper part of the page screen. Now find out the files in the dialogue boxes which appear on the box and then click it to “Open.”
The sixth step is to click “Edit,” option and then click “Preferences.” In “Format” menu, under the “Type of Result?”, select “WAV” and then click “Close.”
The last step is to click the “Convert” option. When the conversion is completed, close “Sound Converter.” Now the WAV files are waiting in the folder that you have selected.