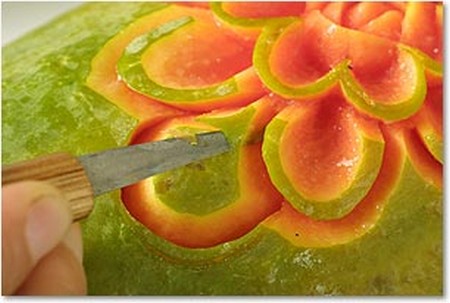
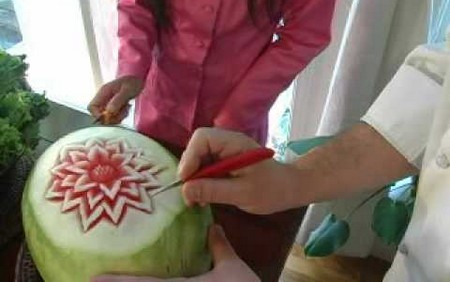
Creating a carved fruit centerpiece or fruit bouquet is a great addition to any event. It’s creative, fun and even be very elegant. It’s also an inviting way to encourage your guests to eat the fruit. Sometimes presentation is all you need. Your fruit centerpiece contents will depend on what fruit is in season. Even a novice can varve fruit. Here is how you can carve your own fruit centerpiece. Read on to learn how.
Procedure:
Items You Will Need:
Garnish
Fresh Fruits (Various)
Design or Piture (optional)
Paring Knife
Food Coloring
Marker (washable)
Large Spoon
Chef Knife
Small Knife
Wooden Skewers
Melon Baller
Cookie Cutter
Toothpicks
Hammer (small)
Carving Kit from Fruit or Pumpkins (optional)
Platter (serving)
Candles (votive) (optional)
Step 1
Look in books, magazines, and online for ideas and patterns to follow. You can choose the most simple pattern or an elaborate one. Make sure it’s a design you can actually purchase the fruit for. Some designs may be restricted due to season.
Step 2
Choose ripe fruit and wash it thoroughly when you start.
Step 3
Dye the skewers you’ll use green. This will make them look like flowers and stems. You can get creative and mix the colors.
Step 4
Decide on a base for your centerpiece. Large fruit such as canteloupe, pineapple, watermelon, honeydew are great starts. Remove the bottoms of the big fruit items with a Chef’s Knife. This is your fruit base. You can use this for a flat base. Remove the top as well. You can slice a picture or design on to base edges like a zigzag. Use a spoon to dig out content.
Step 5
Use washable marker to outline the design or picture on the base. Use the pumpkin carving kit or a paring knife for this next step. After the design is cute wash off the marker with fresh warm water.
Step 6
Slice pineapples, watermelon, canteloupe, honeydew in to 2 inch pieces. Use cookie cutters for your shapes. Use a hammer to drive the cookie cutter through the thick fruit. Use the paring knife to cut around the shape along the edge of the cookie cutter. Discard the excess fruit.
Step 7
Put small fruit on a toothpick. Fruit like cherries, grapes, raspberries and blueberries can be sliced and placed with kiwi, lemons, oranges and limes. Take the caps off the strawberries.
Step 8
Attach the carved fruit with wooden skewers in the design you chose. Insert skewers in the fruit base. Arrange.
Step 9
Place the carved fruit arrangement on in a place that is easy accessed. Garnish the bases. You can use flowers, colored items, more fruit or even candles for a real dramatic effects.
Step 10
Serve the fruit by itself, or with fondue and other dipping sauces.

