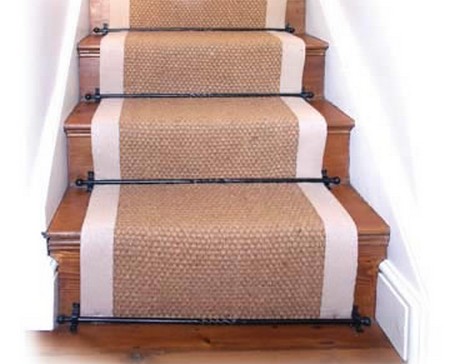
Laying carpet on stairs is not much more complicated than laying it on flat surfaces, but you do need to follow a few basic rules. Before commencing, check whether your stairs need any of the repairs. Some of these, such as stopping stairs creaking, can be carried out after the carpet has been laid, provided there is access to the underside of the stairs; others, especially repairing worn nosings, must be carried out before the carpet is laid.
MEASURING UP
You will probably have to cut the carpet for your stairs from a larger piece, so it is essential to measure the stairs carefully. You will need separate pieces of carpet for:
- the hall at the bottom of the stairs
- the landing at the top of the stairs
- runs of straight stairs
- any part landings if the stairs curve
- winder stairs (where the stairs go round a corner)
- bullnoses (a shaped stair at the bottom of the flight).
You can use the same carpet on the stairs as on the main floor. Here, a 80/20per cent wool/nylon carpet (used with a matching border on the main floor) maximizes comfort and wear.
The amount needed for straight flights is the sum of the treads (the horizontal parts of the stairs) and the risers (the vertical segments), excluding the top riser. The top riser should be covered by the landing carpet. Allow 32 mm extra on the width for the landing and stair carpet to turn over where it meets the banisters.
For winder stairs, you need a rectangle of carpet equal to the two largest dimensions of the winder – the riser plus the tread measured across the corners with the width also measured across the corners, allowing 32 mm for turning over.
With a bullnose stair, you need to add more to the width to allow for turning the carpet round the corner.
The direction of the pile on a stair carpet should be down the stairs.
FITTING GRIPPER STRIPS
On stairs, you need to fit gripper strips to the back of each tread (except the top step below a landing) and to the bottom of each riser so that they form a pair of ‘jaws’ to hold the carpet in place. These start at the wall, but finish around 32 mm short of the banisters to allow room for turning the carpet over. Gripper strip is also fitted to the wall side on winder stairs, but not on straight stairs. Hallways and landings need gripper strip fitted all along the walls, except for the edge of a landing next to the banisters, where the carpet is turned over and tacked.
LAYING THE UNDERLAY
Start fitting underlay on the landings and in the hall as described before, but on a landing finish 32 mm short of the banisters. Allow a short piece of underlay from the landing to overlap the riser of the top stair and staple this just below the nosing. Trim the underlay, cutting it off short of the gripper strip on the riser.

For straight stairs, cut a length of underlay to the width of the stairs less 32 mm for the rolled edge. Lay the whole length down the stairs, with one edge against the wall, and start fitting it from the top stair. Staple underlay so that it fits snugly next to the gripper strip on the top stair tread and then staple it again just below the nosing on the riser below. Use a trimming knife to cut across the width of underlay – you do not need to fit it all down the riser. Then go to the next stair and so on to the bottom.