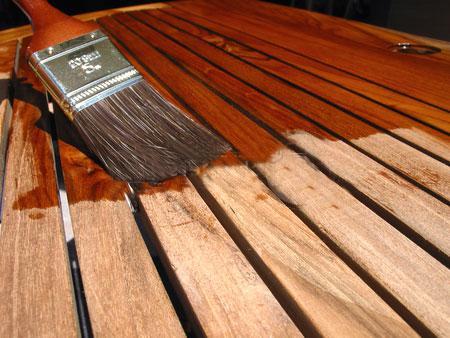
Delicate brushwork is essential for good results with varnish. There is no question of slapping it on and brushing it out like paint; the first thinned coats sink into the grain and then you lay coat on top of successive smooth coat.
Never dip the brush into the can more than one-third or half of the bristles’ length. Do not shake the can – this will cause air bubbles that hold in the liquid and pop on the surface – stir it firmly but smoothly. For the same reason, do not scrape the bristles on the rim of the can to unload excess, tap them lightly against the edge.
As far as possible, have the surface you are working on horizontal. Set the work up on supports so that you will not have to move it during varnishing. With awkward pieces like chairs, do the difficult parts first so you do not have to reach over a wet part to get at an untouched area. With framed panels, start with the moulding, keeping the brush strokes in the direction of the grain, then do the panel, then blend the moulding into the frame members round it. On flat surfaces, work from a wet area towards a dry, and blend the overlaps when the brush is not so fully charged.

Try to get long, smooth sweeps of the brush from one end of the surface to the other. If this is impossible, use the ‘stiffing’ technique (see p. 52). Once you have put on a 50/50 thinned coat and cut it back, the varnish will not sink appreciably into the grain, but will form a skin and lose ‘brushability’ quite quickly. You should be flowing it on, not brushing it in. Thin the second coat 20 per cent, then go to full strength for the top coats.
When you lay a coat down, remember that the skin must not be given a chance to form before you have smoothed the whole coat, so work quickly and deftly. You can only get rid of brushmarks while the coat is at its wettest, with the brush held nearly vertical and by stroking the tips over the area. If the varnish is even faintly tacky, the marks will stay, and you will have to cut them right back with garnet or wet and dry when the coat is hard. Be very watchful for drips and runs on corners and edges, brushing away from them once they are covered.
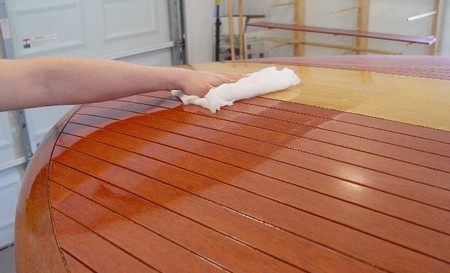
Rub each coat down with worn fine garnet or wet and dry paper and clean it meticulously with a tack rag before the next. Some polyurethanes are supposed to be recoated within a certain time so that the coats fuse, and there is no need for sanding, but this is very difficult to judge, and you can easily pull up the previous coat. It is safer to allow the previous application to harden, rub it down and reapply, but be sure to do it thoroughly – poly-urethane’s hardness does cause adhesion problems.

Two-pack polyurethanes are even harder than the single-packs, and are usually used on floors. Sand thoroughly between coats for the sake of adhesion. Some of these finishes are advertised as having the wear- and liquid-resistance of plastic, and indeed they do, but they also look like it, which makes them a doubtful choice for furniture. They are also extremely unpleasant to use, and their strong toxic fumes make a face-mask and eye protection essential.