Creating your own podcasts allows you to share your thoughts through words and audio. Podcasting provides a reachable voice for the people that cannot access your blog content. Podcasting on blog can be subscribed and aggregated.
Podcast is an effective means to speak to an audience about your thoughts no matter what the audience. Podcasts can be in the form of tutorials, discussion that occurs in an interviews, music and sound effects. If your website or blog talks about movies, you may look for a Classic Movie Commentary Podcast that you can link to.
In order to make a podcast, you need to record your voice with an software that allows you to record and edit sounds. Audacity is an open source software that allows you to record yourself. If you don’t want to use Audacity, you can purchase more sophisticated softwares like, ePodcast Creator or Cool Edit Pro that allows you to create and edit your Podcasts. Podcasting is supported in WordPress blogs. To add podcast to your blog, you need to put a link to the audio files in your post.
To add a podcast to your blog, follow the instructions below:
Procedure:
- Create an audio and save it in MP3 format.
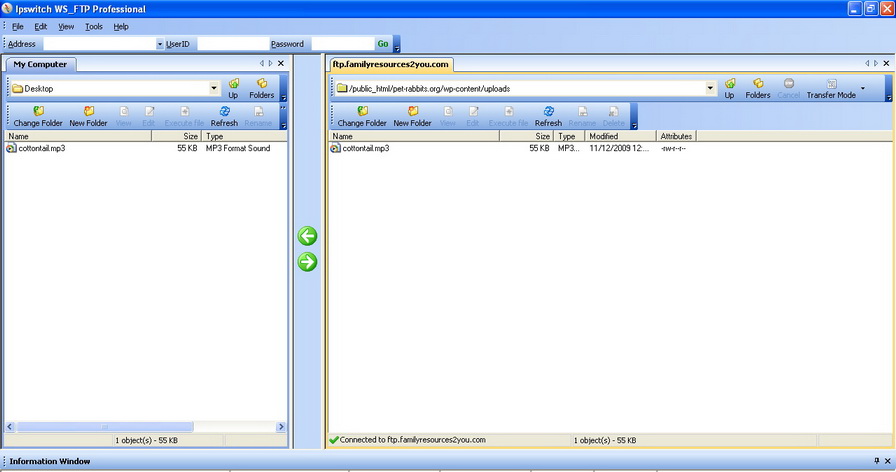
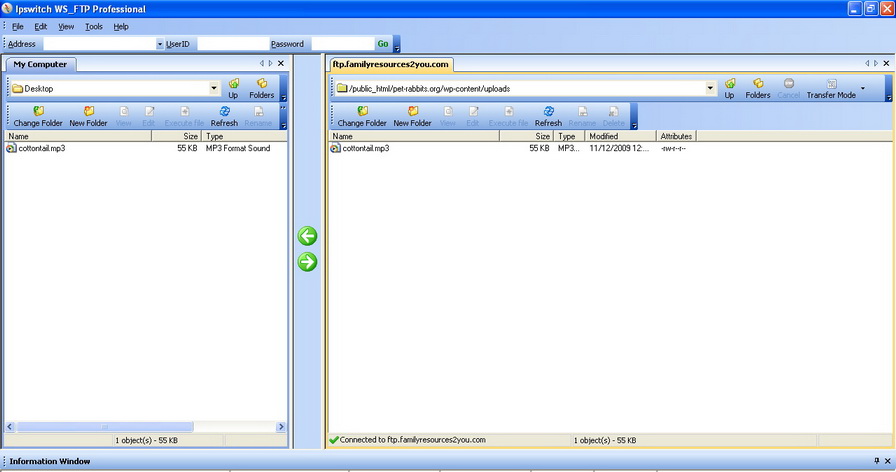
- Upload the MP3 audio file to a server.
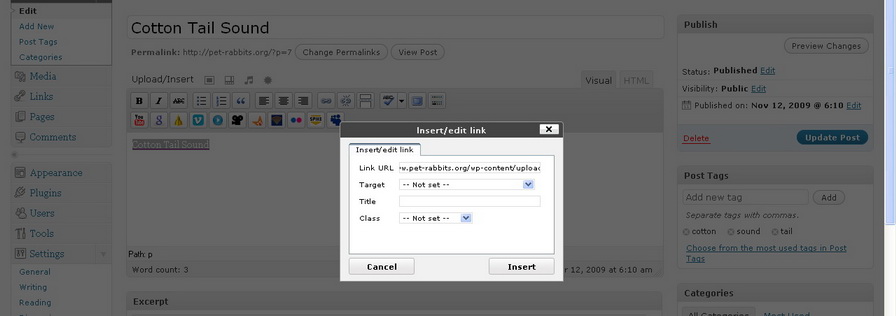
- Enter an anchor text for the link. Select the anchor text and click on the chain icon. Type in the URL to the audio file and click Insert.
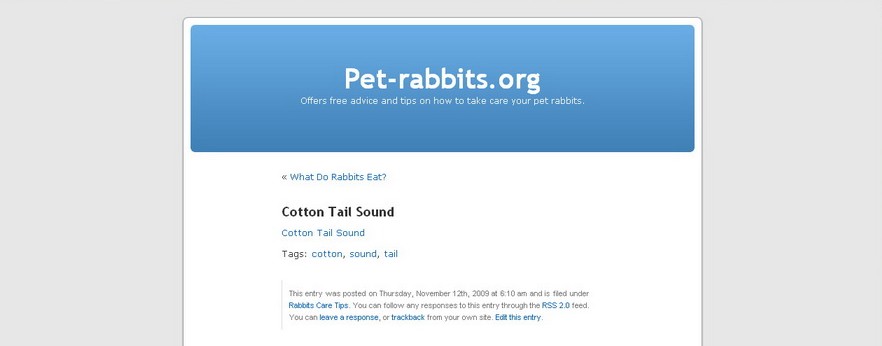
- After you have published your post, visit the post. You will see a hyperlink to audio file that you created just now.
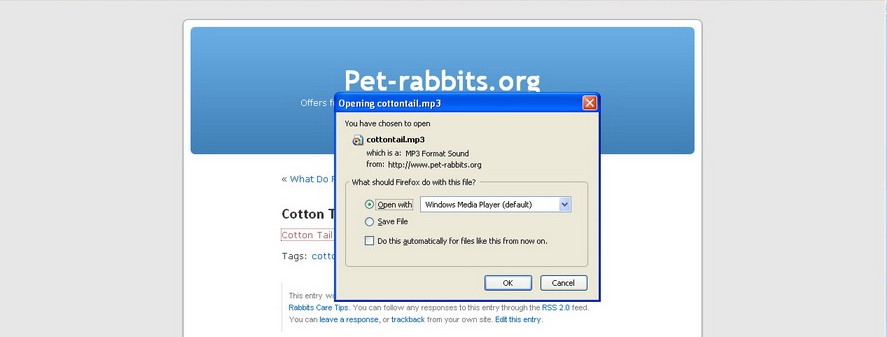
- When someone clicks on the hyperlink, they will get a prompt on whether to open or save the audio files to their computer.
If you want to add a flash audio player to your blog, follow the instructions below:
- Create an audio file and save it in MP3 format.
- Upload the MP3 audio file to a server.
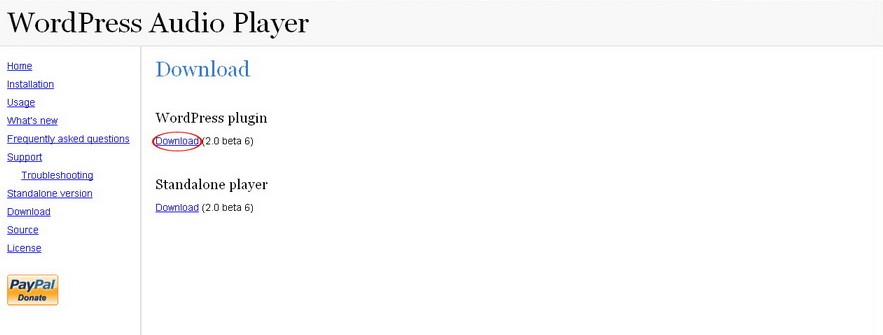
- Download the WordPress Audio Player plugin.
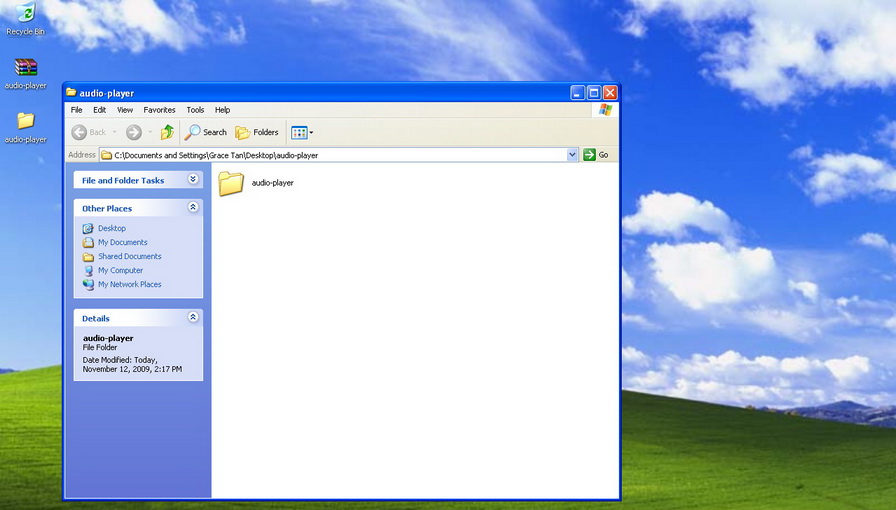
- Unzip the folder to your computer.
- Click on the folder and upload the folder inside to wp-content/plugins/.
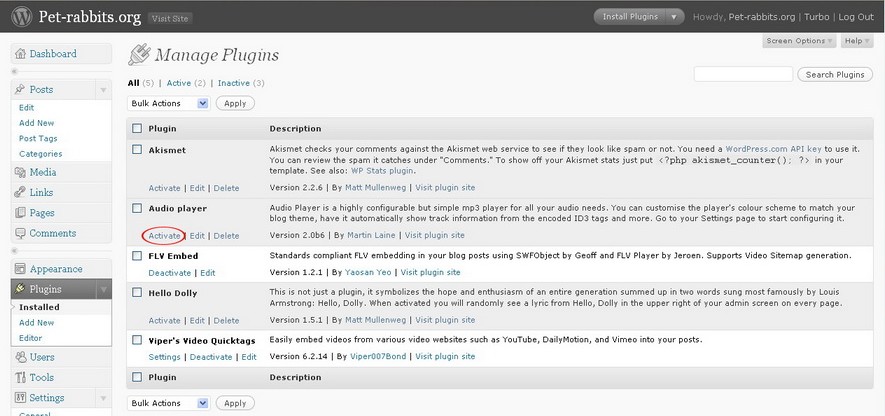
- Go to Dashboard >> Plugins.
- Search for Audio Player and Activate it.
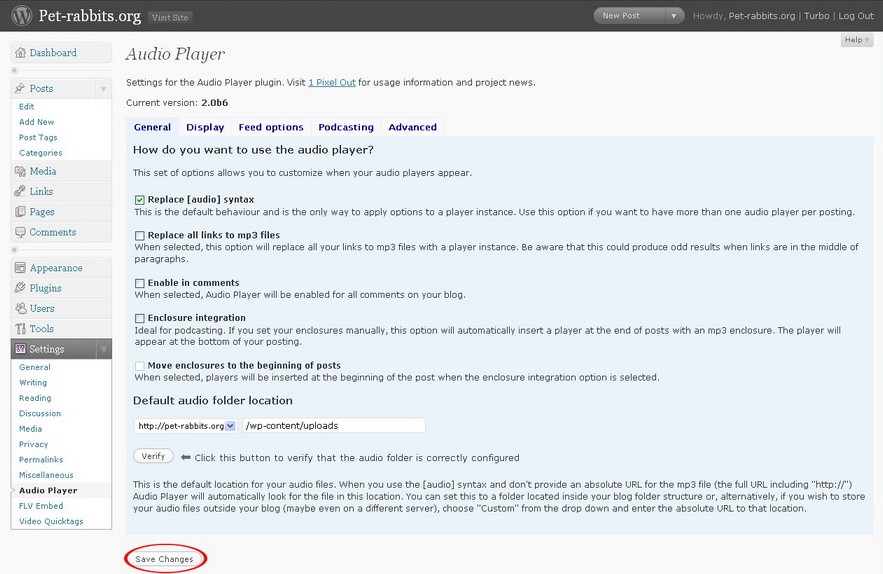
- To configure it, go to Settings >> Audio Player. When you are satisfied, click on the Save Changes button.
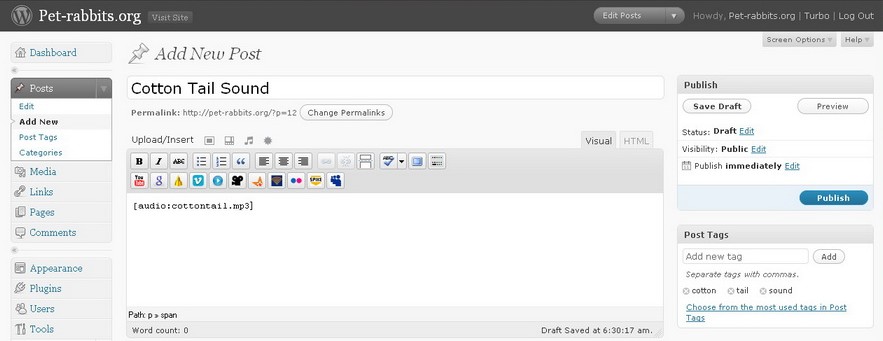
- Once installed and activated, you can use the plugin to insert flash audio player to your post by using the syntax:[audio:name_of_mp3_file.mp3]
. This code allows you to insert a flash player that will play an audio located in your audio folder that was created automatically when you activate the plugin.
- You can also use the full URL to link to your audio file. For example[audio:http://www.yourdomain.com/audio/name_of_mp3_file.mp3]
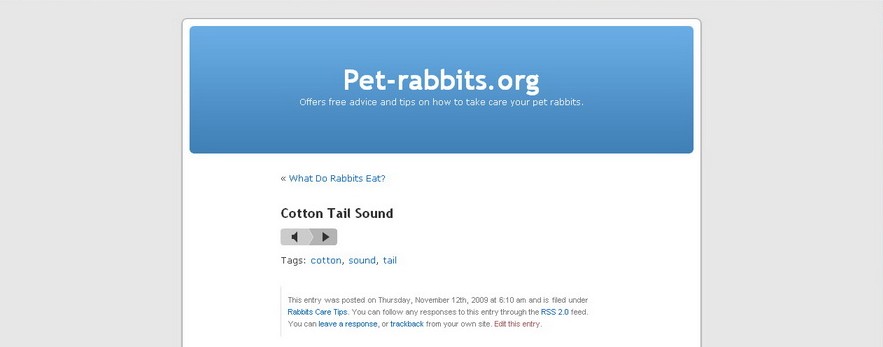
- After publishing your post, visit the post. You will see a flash player for the audio file that you created just now.
- The WordPress audio player plugin allows you to play a sequence of audio files by using commas. For example, [audio:name_of_mp3_file1.mp3,name_of_mp3_file2.mp3,name_of_mp3_file3.mp3#093;
If you want to configure the settings for WordPress audio player, go to Settings > Audio Player. Under the Display tab, you can configure the player width and color scheme.

