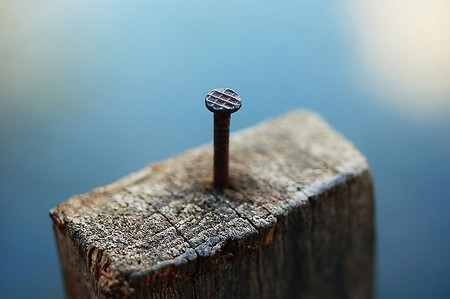
As a rule-of-thumb when joining something very thin to something much thicker, use a nail 2-1/2 to 3 times longer than the thickness of the thinner material. When the thicknesses are more nearly equal, use a nail long enough to penetrate through the thinner material and half to three-quarters of the way through the thicker one.
Starting a nail can be sometimes quite difficult. When nailing into wood, a series of rapid light blows is usually sufficient to get a nail started. If the nail is awkward to hold with your fingers, use chewing gum or putty to hold in it place while you make the first few blows. Try to avoid hitting the wood – this will permanently damage the surface. In some circumstances it could be worthwhile nailing through two layers of cardboard and ripping the cardboard away just before delivering the final few blows.

Nailing into wood will always cause compression and stress in the wood unless a pilot hole is drilled. When nailing close to the end of a piece of wood, use oval nails with the longer side parallel to the grain. Better still, cut the wood over-length, nail it in place and then trim it to length. When nailing into thin mouldings (glazing bead, for example), blunt the nails to prevent splitting the wood.
Bending of nails is the only other problem you are likely to encounter. Altering the direction in which you hit the nail may drive it in successfully but, if it docs not, remove the nail before it is too late and substitute another.
Nails which are designed to be hammered flush with (or below) the wood surface are best finished off with a punch. This is simply a hardened steel rod which is Hat at both ends but tapers towards the end which you put on the nail head. Special hollow-faced punches are available for small-topped pins.
Where nails have been punched below the surface, the holes can be filled with filler (if paint is being used) or wood stopper (if varnish is being used). Large dents from a hammer can be removed by wetting them and gently applying heat with an iron.
Nailing into masonry
When nailing directly into masonry, much harder blows are required than for wood and the nail can be held in position with a pair of pliers.
Masonry nails and hammers are both hard and there is always a risk of bits of metal flying off the nail or hammer. To use masonry nails safely you should:
- wear safety goggles
- use a hammer you can control – one which is not too heavy nor too light
- make sure the hammer face is smooth and clean
- strike the nail squarely with the middle of the hammer face
- never try to hammer a nail which has broken – remove it with pincers
- use a piece of steel between the hammer and the nail when nailing in awkward positions where you cannot be sure of hitting the nail head squarely
- stop hammering if a masonry nail strikes a particularly hard piece of aggregate in concrete and begins to bend – pull it out (this may be difficult and is likely to remove plaster on plastered walls) and start a new nail at least 20mm away.
When fixing things to a wall, use masonry nails which are long enough to penetrate at least 20mm beyond the plaster (usually 16mm thick) and into the major wall material. Increase the length of the nail when nailing into softer interior wall materials such as breeze or lightweight concrete blocks. Avoid nailing things like coal hooks and curtain rails directly to a wall. Use masonry nails to fix a batten to the wall first.