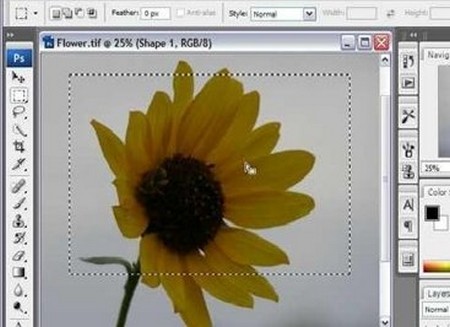
The Marquee is the simplest and, in some ways, the most obvious of selection tools in Photshop. Unlike all other selection tools, it is ‘subject independent’, meaning that whereas tools such as the Lasso and Magic Wand are designed to follow the contours of an object within the image, the Marquee makes a selection based on a geometric form within the image frame.
Though some applications permit a range of shapes (such as stars or polygons), the universal implementation of the Marquee uses rectangular or oval shapes.
To make a selection, first select the Marquee tool, then click the mouse at the intended start position (typically the top left hand corner). Next, you drag the mouse to the opposite corner. If you wish to draw a square or circle, there is often a modifier key – a key that is pressed while dragging the mouse. In the case of Photoshop, the modifier is the shift key.
Using the Marquee
Bearing in mind that the Marquee does not make a selection on the basis of the contents of an image, on what occasions does it come into its own? A principal use is to crop images. Though there are dedicated crop tools, the Marquee can also be used to define the part of the image to be retained.
If you wanted to trim this image to retain only the central rose, you would drag the Marquee across the area you wished to save. The Marquee is marked by a dotted line, often referred to as ‘marching ants’ on account of its animated appearance. Selecting the Crop command from the menu (or pressing a Crop button) removes the area outside your selection. It is important to note that the cropped image will be proportionately smaller than the original.
Using the Marquee to add print borders
You can use a similar procedure to the one just described to create borders around prints. This time, rather than cropping to the Marquee boundary, you will remove the surroundings of the image but maintain the original image dimensions. Here’s how.
- Draw the Marquee over your image to leave a slim, regular border all round.
- Invert the image selection. This makes the border active, rather than the area within the Marquee. The Invert selection command is usually found in the Select menu.
- Choose a color for your border. Make this your background color. For clarity, choose white color: this is the normal default background color in most image editors.
- Press delete. The image in the border area will disappear to be replaced with the border color.
- Repeat the process, drawing a border around the image and a fine piece of the black border. Change the background color to white and press delete.
For a more sophisticated effect, you could add a black keyline around the image between the print area and the border.
