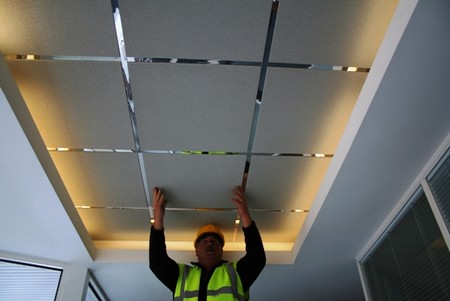
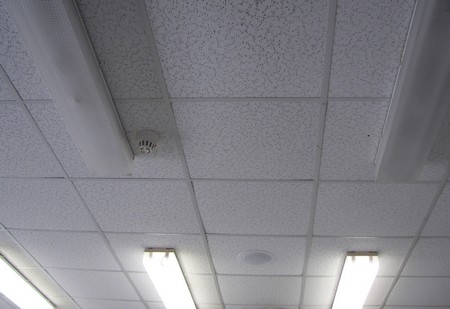
Manufactured suspended ceiling systems are made from slim metal sections, which provide a fairly lightweight structure for acoustic or translucent panels. They’re quick and easy to fit using no specialist tools.
The lightweight alloy framework is made from three basic elements: an angle section, which is fixed to the walls; a main bearer section, which spans the room, usually in the shortest direction; and a lighter T-sectioned cross bearer, which bridges the space between the main bearers.
The loose panels sit on the flanges provided by the bearers. They can be easily lifted out for access to ducting or to service light fittings, which can be concealed behind them. You need at least 200mm (4in) above the framework to fit the panels.
Setting out the grid
Normally, 600mm (2ft) square panels are used for suspended ceiling systems. Before fitting the framework, draw a plan of the ceiling on squared graph paper to ensure that the borders are symmetrical. Draw a plan of the room with two lines taken from the halfway point on each wall to bisect at the centre. Lay out the grid on your plan with a main bearer centred on the short bisecting line, then lay it out again with a line of panels centred on the same line. Use the grid that provides the widest border panels.
Plot the position of the cross bearers in the same way, using the other line. Try to get the border panels even on opposite sides of the room.
Fitting the framework
Before building a suspended ceiling with translucent panels, remove flaking materials and make good any cracks in the plaster ceiling above. Paint the ceiling with white emulsion to improve reflectivity if concealed fluorescent lighting is to be used.
Fix fluorescent light fittings to the joists spaced evenly across the ceiling: 16 watts per square metre is recommended for a suitable level of light in most rooms.
Mark the height of the suspended ceiling on the walls with a continuous levelled line. Hacksaw two lengths of wall angle section to fit the longest walls. Remove burrs from the ends with a file. Drill screw holes at 600mm (2ft) intervals. Drill and plug the walls using the angle as a guide and screw the components in place.
Next cut lengths of wall angle to fit the shorter walls. Their ends should fit on the angles already fitted. Screw-fix them in the same way.
Mark the positions of the bearers along two adjacent walls, as set out on the graph paper. Cut the main bearers to span the room. Sit them on the wall angles. Use a ceiling panel to check they are parallel and at right angles to the wall and each other.
Cut the border cross bearers to fit between the end main bearers and wall angles. Set them in line with the points marked on the wall. Position the remainder of the cross bearers following the same line.
Working from the centre, drop in the full-sized panels. Measure and cut the border panels to fit and then drop them into place.
Spanning wide rooms
If the size of the room exceeds the maximum length of the main bearer, join two or more pieces together. A joint bridging piece is provided if the ends of the bearers are not made to lock together.
For spans exceeding 3m support the main bearers with wire hangers. Fix each wire, spaced not more than 1,5m (5ft) apart, through a hole in the bearer and hang it from a screw eye in a furring strip or joist in the ceiling.

