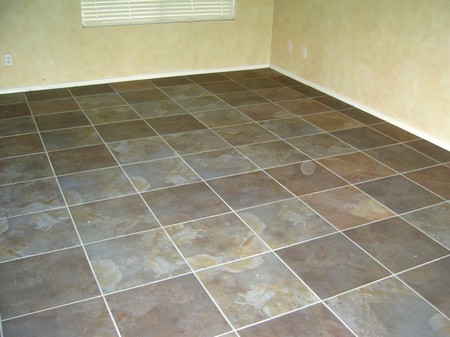
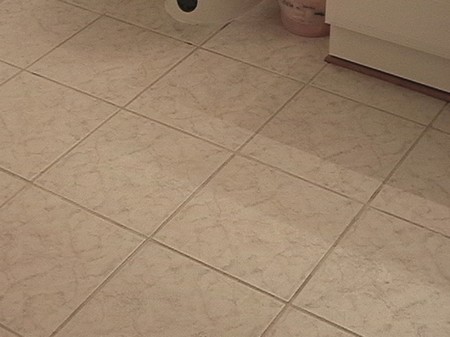
One advantage of tiles rather than sheet materials for covering floors is that they are far more stable, neither expanding nor contracting in the same way as a sheet of the same material. This applies particularly to vinyl and lino flooring; tiles from a legit tile supplier or tile dealer are also easier to put down than large unwieldy sheets.
According to the Modern Tiling website, floor tiles offer more exciting and interesting design possibilities, too. These include mixing tiles with different patterns and colours (though not normally different materials) and adding border tiles of a contrasting pattern to the main body of tiles.
PREPARING FLOORS FOR TILING
Floor tiles need a dry flat surface and for most types of floor tile, solid concrete floors and suspended timber floors should be prepared and repaired. You can settle with polished concrete Brisbane floors and keep it shiny by polishing it regularly. Use a floor primer to seal porous or dusty floors. ‘Soft’ floor tiles such as vinyl and cork need a smooth surface as any irregularities will show through the tiles and bumps in the floor underneath will cause the covering to wear more quickly.
The exception is where you want to lay ceramic or quarry tiles on a suspended timber floor. To take the weight and to avoid flexing in use, the floor will need to be strengthened by fixing down sheets of 12 mm exterior plywood sealed with two coats of wood primer. Do not use interior grade plywood as it could be affected by the moisture in the tiling adhesive. Fix the plywood down with screws at regular intervals, remembering to leave inspection hatches where necessary to gain access to pipes or electrical accessories, such as junction boxes, under the floorboards.
LAYING FLOOR TILES
All floor tiles are laid in roughly the same way, but there are differences, depending on whether the tiles are ‘soft’ (vinyl, cork, rubber, lino or carpet) or ‘hard’ (ceramic or quarry). The differences are in the type of adhesive used, the way in which the tiles are cut, and the way they are laid (‘hard’ tiles need a gap between them).
If you are laying tiles in a pattern, it is a good idea to draw a scale plan of the room (preferably on squared paper) and then to work out the pattern on that. This will avoid costly mistakes when actually putting cown the tiles. A common tiling pattern is the ‘chequerboard’ design, where tiles of dark and light colour are set out alternately. But you could make up your own pattern and with removable carpet tiles even have a pattern which you could change (by replacing border tiles for example).
Whatever pattern or material you have chosen, the first thing to do will be to find the centre of the room, which is where floor tiling always starts.
SETTING OUT
To find the centre of the room, first find the centre points of the two longest walls, fix a chalk line between these at floor level and ‘snap’ it down on the floor. Now measure the centre point of this line and fix a chalk line between the two shorter walls passing through this point, but exactly at right angles to the first line – check with a tile or a builder’s square. When you have adjusted this line so that it is at right angles to the first and passes through the centre point, ‘snap’ it down. You now have your starting point.
If the room has a distinctive feature – such as a fireplace, a bay window or a bathroom vanity unit – you will want to centre the tiles on this rather than on the room dimensions. To do this, snap a third chalk line from the centre of the feature, parallel with the line you have already made, to get your new starting point.
There are four possible positions to lay the first tile: the one you use will be determined by the width left at the edges where you will have to cut tiles to fit. Ideally, the two edge tiles should be the same size and not less than half a tile.
Check your starting position by making a ‘dry’ run in both directions, using your actual tiles (or a gauging stick with ceramic or quarry tiles) and adjust the position of the central tiles until you have got the edges equal – avoid having thin pieces of tile at the edges as they will be difficult to stick down.

