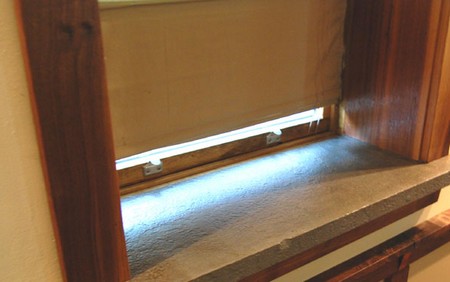
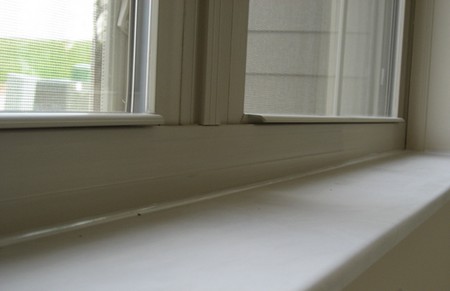
It is possible to replace a wooden window sill without removing the frame, but the quality of the job, the strength and weathertightness of the window in the long term, and the life of the window, may not be very great. To replace a wooden window sill properly, you should remove the window frame.
By removing the frame
Before starting to remove the frame, buy a replacement sill from your local timber merchant. If you have an unusual window, you may need to have one made specially. Choose a durable hardwood in preference to softwood. Use the old sill as a pattern to mark out the new one the length of the sill and the size and position of the mortise holes.]

Cut the old sill away from the frame. This can be done by cutting across the sill alongside the jambs and mullions (if there are any). The remaining wood around the tenons can be chopped off with a chisel but you must be careful -nails may have been used for fixing the sill to the frame. Remove any nails in the jambs and mullions. Cut out the mortises in the new sill.
If any of the tenons are rotten, you should splice in a replacement. To do this with a jamb, cut a slot out of the jamb along the line of the original tenon. This slot should be the same thickness as the original tenon and at least as long. Now cut a piece of wood the same width and thickness as the tenon but much longer its length should be equal to that of the original tenon and the extra length of the newly cut slot. This piece of wood will form a new tenon when it is glued and screwed in the slot.
Treat the mortises and tenons with preservative, paint them with primer and assemble the frame. Wedge and nail the mortise and tenon joints. Finally, treat all bare woodwork with preservative and paint the edges of the frame with primer.
With the frame in place
Very carefully remove the opening windows, fixed lights and window board. These will be reused later.
Cut across the sill us close to the jambs as possible and after most of the sill has been removed, carefully cut away the timber around the joints, taking care not to damage the jambs. Cut away the tenons from the bottom of the jambs.
Clean off the opening and remove any mortar bed left on the brickwork where the sill has been.
Cut the new length of sill to lit in between the brickwork. Prime it and the ends of the jambs. Make sure that the new sill has a groove (throating) beneath the front edge this prevents rain-water running back.
Manoeuvre the sill into position and insert packing between the sill and the brickwork to push the sill as tightly as possible against the jambs. You may have to cut away the timber rebate of the sill to let the sill pass under the jambs.
Fix the sill in position using either screws or nails driven diagonally through the jambs. Screws are best: countersink the screw holes and cover the screw heads with a slopping to finish the job.
Pack the mortar under the sill, pushing it as far towards the back of the sill as possible. Replace the mastic joint around the frame.

Glue pieces of timber into the gaps in the joints between the jambs and the sill. (Use a water-resistant glue.) When they have set tightly in place, clean off the excess timber using a chisel and preserve and prime all exposed new wood.
Finally, replace the window board, windows, fixed lights and fasteners. If the window has a concrete or stone subsill, it may be easier to insert the sill in two pieces the main part of the sill and a lath to form the rebate between the two jambs. The lath may be glued and screwed in position between the jambs. Alternatively, the sill could be made deeper and the jambs cut oil’ square to fit into the housing in the sill.