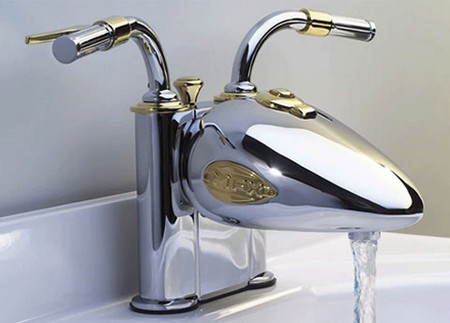
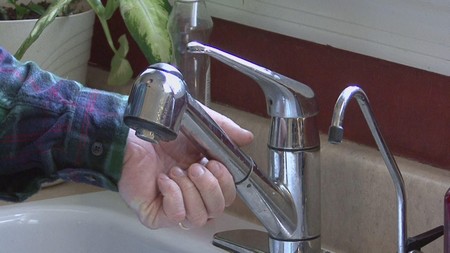
It’s a scientific fact that faucets always begin dripping between 2 and 4 a.m., and that they are programmed by the factory to thwart any attempt to stop them from dripping.
Not really, but it sometimes seems so. However, you can easily repair or, if necessary, replace a faucet in less than an hour on a weekend. Check out this plumbing guide here.
REPAIRING LEAKY FAUCETS
There are several causes for faucet leaks: worn washers, deterioration of the packing around the faucet stem, or scored and pitted seals. Also, the parts of the faucet become loose after long and constant usage, and need to be tightened or replaced for satisfactory operation. You should repair leaking faucets immediately; washers and seats wear out rapidly after a leak occurs.
You can probably prevent leaky faucets by changing the washers in all faucets in your home once a year. If not, repair a leaky faucet as soon as it begins to leak. It won’t stop by itself, and it can cause additional problems, including mineral or rust stains in the sink or tub. You can visit https://valleyservice.net/fargo-services/plumbing if you need help from a professional.
The first step to repairing a leaky faucet is to turn the water source off to that faucet. If there is a shutoff below the fixture, that is all you need to turn off. If there is not, you will need to turn off the main valve or a branch valve, probably located in the basement. For water line repair Roanoke, call Roger’s Plumbing & Trenching for a prompt response.
Remove the handle from the faucet and you should be able to see the washer. Turn the screw that’s holding the washer in place counterclockwise to remove both screw and washer. Replace the washer with one of the same size and type, and replace the faucet. The steps for removing the handle and replacing it vary according to the type of faucet you have. If the faucet no longer drips you are in good shape. However, there is a chance that your faucet will continue to drip or will now leak around the packing nut, which is located beneath the handle of the faucet. In this case, check to be sure you used the correct size washer and tightened all fittings sufficiently. You might have to go through the entire procedure again.
If the faucet still leaks, the seat inside the faucet might be at fault. Water can leak between the washer and the seat if there is not a good contact between the two. If this is happening, you can “dress” the seat. You will need a dressing tool from a plumbing supply house or building materials retailer. Follow the manufacturer’s instructions to restore the seat to a smooth, round condition.
If the faucet no longer drips but there is now a leak from around the packing nut, try tightening the packing nut with a wrench. If it still leaks, turn off the water supply and replace the washer or Teflon-coated packing.
REPLACING A FAUCET
Replacing a faucet used to be a difficult job intended only for plumbers and brave do-it-yourselfers. However, today’s wide spread bathroom faucets are very easy to select and replace, and can be completed in less than an hour in most cases. In fact, some faucet replacement kits don’t even require tools.
The first step in replacing a faucet is to select the appropriate replacement. Most critical is that you determine how many inlets it has and their size and location. Most bathrooms have a double inlet faucet¡ªhot and cold¡ªand a single spout. However, old-fashioned faucets are offered as single inlets¡ªhot or cold. From below the sink, measure the distance between the two inlets, and/or their diameter. Also inspect how the faucets are attached. You may hire a home inspector for this. Most are installed with a large metal or plastic nut and washer. Also determine if the brand name of the faucet can be found on the casing. If so, it will help you in getting an exact replacement.
Next, shop the building materials store. Make sure that the number, size, and type of inlets match the one you are replacing. Of course, this isn’t necessary if you also plan to replace piping underneath the fixture.
Once back home, carefully read the instructions that come with the faucet. Manufacturers have their own preferred method of installation. Follow their instructions carefully since they know how best to install the unit for proper fit without leakage or excessive wear.
Turn off the water either under the sink or at the main water turnoff. Place a bucket underneath where you will be working to capture any water that drains from the faucet as it is disconnected. Then disconnect the lines that run to the faucet inlet(s) using a plumber’s wrench, an adjustable wrench, or any special tool that came with the new faucet.
Remove the inlet nuts, any washers or gaskets, and any mechanism that works the stopper. Lift the old faucet out of the hole(s). Clean off the area, making sure that it is smooth enough for a tight seal. Then install the new faucet’s gasket or a suitable caulking compound and the faucet itself. Install the washers and inlet nuts from below, tightening them as directed. Attach the mechanism, if used.
Once you’re certain that you have installed the faucet correctly, turn the water back on and test the unit. You’re back in business. You can also hire a professional for a much efficient result especially when you’re in a commercial unit staying for a week. If you need commercial plumbing services in London Ontario, look no further than Superior Plumbing. Our team has the knowledge and experience to handle any project, big or small.

