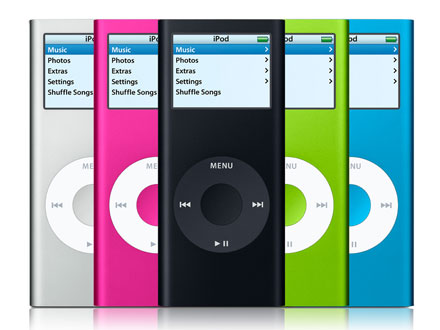
The first generation iPod Nano consists of a battery, a flash memory component etc. these components are to be repaired after sometime. In case if the guarantee exists we can take the iPod to the service center to repair. If the guarantee has expired we have to open the iPod Nano and repair it. Here are few steps to be followed to open and repair an iPod Nano.
- To begin with we have to prepare the work area where we are going to open the iPod. First of all we have to cover the table in which we are going to operate with a cloth in order to avoid scratches in the table and to avoid loss of small parts of the iPod Nano. Then we have to be ready with precision tools like screw drivers because the iPod has very tiny parts. We need a guitar pick which must be sturdy. It can be used to open the casing of the iPod.

- The next step is to remove the Nano cover casing using the guitar pick. For this we have to insert the pick at the bottom of the Nano and keep pushing it so the casing starts to open. This has to be done very carefully so that the Nano does not get damaged. When there is a small opening we can run the pick on all sides and open the casing cover completely.
- On doing the previous step we can see the circuit board clearly. Above the circuit board we can see the battery attached to it. It would be seen on the circuit board top. The circuit board is held tight with help of screws. We have to unscrew the screws with the help of precision screwdriver. After doing this we have to turn the battery and removal of the circuit board is done by sliding it out. The wires attaching them can be left behind.
- Next we have to remove the flash memory and the screen. We must be very careful while dealing with the screen removal process, since it has been connected to circuit board using a ribbon cable, it should not be damaged. We have to use a flat head screwdriver and lift the screen carefully from panel. As the screen and the flash memory is also attached using the ribbon cable. It can also be slide out as explained earlier. A click wheel is connected to the front panel which has to be removed carefully using the flat head screwdriver. We have to note that we should not imply excessive force while removing and while we handle the ribbon cables in the circuit board.
- Instead of servicing a iPod Nano we can repair it by ourselves and save money, but we have to be careful in dealing with it since it involves many tiny parts.
Further Readings: