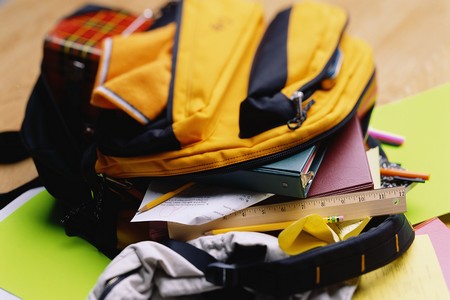
A book bag is a very useful product. Your kids may use the bag for their schoolbooks or other school activities. In any case, your kids will most probably roam around the whole school with these on their shoulders. However, when in a school, there are so many students that the bag may get lost in a crowd. A good suggestion will be to create your own personalized bag that is unique.
Things needed for this are:
- A book bag
- Some iron-on patches or transfers
- A hot iron
- An ironing board
- Some fabric paints
- Stencils
Get yourself a book bag. A book bag is easily available in any grocery store or school supplies store. You may go in for a branded book bag, but a better option would be just a plain and simple basic book bag that is available in any color. If you are going to customize your bag, then it should not be fancy already.
Purchase iron-on patches. Pay a visit to the local crafts store for iron-on patches. These are prints or patterns on wax paper, which transfer their design onto the cloth when you iron them on. Keep in mind that the size of your chosen patterns should be correct. Select colors according to the color of your book bag and the choice of the user. If you have a canvas book-bag, you may also go in for sew-on patterns in place of iron-on patterns.
Iron the patches onto the bag. Arrange an ironing board and plug your iron in. as the iron gets warm, lay the patterns onto the bag in the position of your choice. In case you are printing a word(s), ensure that the letters of the word(s) are in correct order as per the spelling. When your iron is hot enough, then iron the patterns on the bag with firm force for almost thirty seconds.
Allow the pattern to cool. Allow the bag to cool for sometime, after which pull off the pattern. The picture will have printed on the bag. However, the book bag is not yet ready for use. Let the printed pattern cool and settle for some time. Twenty-four hours will be sufficient. There might be some iron-on patterns that may fade over time or chip off. To be on the safer side, you may cover your design with a transparent sealant.
Some other alternatives can be used. One alternative is to use sew-on patterns rather than iron-on patterns. However, in doing sew-on patterns, you will require some practice working with a needle and a thread. You can also pin some buttons onto one side of the book bag. However, be careful while working with needles or pins.
You may also use stencils and fabric paints. You may download patterns and designs from the Internet and make stencils based on these designs. Use a box-cutter to cut these stencils out. Use a paintbrush to dab some fabric paint on and allow it to dry.
You can personalize your book bag with a variety of designs and layouts. Take into account if your bag is a shoulder bag or a backpack and accordingly, add patterns on the side of the bag and the back also.
