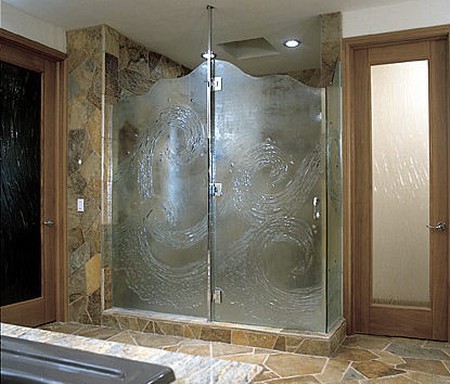
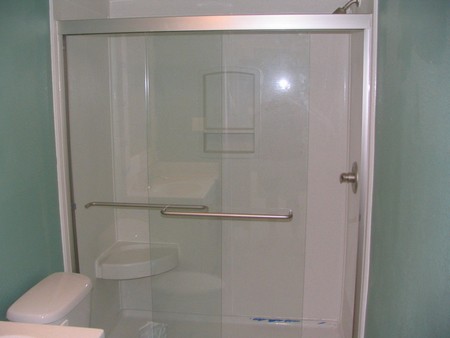
Tub and shower doors range from simple pre-manufactured sliders to elaborate custom-built frameless units. Sliding glass doors are also a great option for your living room to allow more light in. Most builders I know rely on local glass fabricators to supply and install anything that requires custom glass fabrication. Working with tempered glass and the special hinges that these systems use is fussy work, and experienced Shower enclosures glass doors replacement contractors have the equipment and expertise to make the process go smoothly, or if you would like to keep your existing one then consider calling contractors specialized for a commercial glass repair. And if a panel turns out to be too small or too large because the opening has been measured incorrectly, it’s nice to know that someone else is responsible for the error, which will be an expensive one.

Simple pre-manufactured units aren’t difficult to install though, and most kits come with good installation instructions. Hopefully the tub rim and sidewalls are level and plumb, but just to be sure check them with a level. Most enclosures can accommodate a fair degree of deviation simply by adjusting the panel rollers, but anything more than that might make a glass enclosure impractical. In such a case, a shower curtain supported by a screw-in or compression-fit shower rod might be a better choice. Hinged doors generally have even less leeway than sliding doors to accommodate crooked walls. And even if sliding doors will function properly in an out-of-plumb or out-of-level installation, they’ll look odd because the panel door edges won’t be parallel with the enclosure jambs. An option that I love are these incredible internal hinged glass doors as they just look so beautiful it’s ridiculous.
Another variable hidden within the wall structure is the presence or absence of suitable blocking or studs in which to anchor the enclosure frame. If there isn’t anything solid, wall anchors can be used, but try to steer clear of plastic anchors, which never seem to hold very well for very long. My choice for fastening objects like tub-enclosure frames, towel bars, and surface-mounted toilet-paper holders securely to walls in the absence of blocking or studs is corrosion-resistant hollow-wall anchors that have expanding wings that grip against the back of the wall when the anchor is tightened. These are available in different sizes to fit different wall thicknesses, making them suitable for use with tile, drywall, and other wall materials.
When cutting the metal track, jambs, and header bar that comprise the basic frame of the enclosure, be sure to measure carefully and cut cleanly and squarely with a good hacksaw guided by a miter box. Also, note the presence of curves at the corners, and take the time to file or grind the corners of the track and jambs to shape. While caulk can fill in the gaps, it won’t hide a poor fit. Also, cutting metal parts about 1/16 in. short will ensure that they fit without being forced into place, and filing the cuts smooth helps keep the walls from being scratched during installation.
Because I don’t like the look of a lot of caulk all over the place, I try to minimize its use and conceal it if possible. For example, I’ll try to apply caulk to the underside of a tub or shower track before setting it in place, if I can, rather than gooping it up afterward. The same is true of enclosure jambs. If you pre-position the parts first, while they are still dry, and then mark their position with a pencil line, you can apply masking tape just outside of the line. Then, when the track and jambs are set in place, the excess caulk that squeezes out can be smoothed over onto the tape and easily removed. This also leaves a straight bead. Of course, there is some caulking that must be done after the enclosure is in place. For this, I use as small a bead as possible, apply it sparingly, then carefully tool the joint.

If the tub or shower enclosure is ceramic tile, don’t try to take a shortcut and mount screws in grout lines without drilling holes. Most likely, the tile will crack because the screws will be bigger than the joint between the tiles, and it will also be hard to seal the hole against moisture. Also, don’t tighten screws too aggressively in tile because doing so can crack the tile. After I’ve drilled appropriate holes with a carbide-tipped masonry bit, I’ll squirt silicone caulk in before inserting the screws to help waterproof the holes.