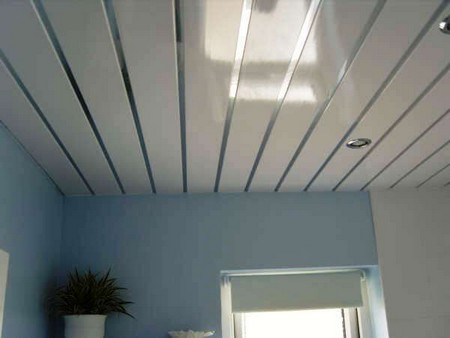
Gravity ensures that ceilings are largely unaffected by splashes of water, but they are highly vulnerable to air bypasses that can cause considerable moisture-related damage. Buoyant, warm, moisture-laden air will pour through any crack or opening in a ceiling—especially when the area above is an attic—and quickly condense on colder rafters and sheathing. So you should take this process into account and have a system in place to prevent this from happening to any type of ceiling that you choose.
In the discussion of vapor retarders, drywall is mentioned as an alternative to a poly vapor retarder, as long as it is coated with low-perm paint. For other types of ceilings, such as acoustic tile ceilings or any type of wood ceiling, a continuous film of 6-mil poly is essential and is the most economical way of keeping warm air and water vapor where they belong. Take the time to install the poly carefully, lapping seams generously and cutting in around any openings to maintain as continuous of a seal as possible.

Drywall has become an almost universal ceiling material. Before installing any ceiling drywall, I like to fur out the joists with 1×3 strapping installed on 16-in. centers perpendicular to the framing. The trade-off in extra labor and material is minimal, the strapping makes a bigger target for screws than the edge of joists, and it reduces nail-head pops and cracking associated with the drying process of new framing lumber. Strapping is also easy to shim if the joists are uneven in an old house, allowing you to level out a ceiling. Electricians like it because it makes it easy to run cable without drilling through joists. And strapping allows you to easily maintain the 12-in.-o.c. recommendation for installing MR drywall in a ceiling, whether the ceiling joists are 16 in. o.c. or 24 in. o.c.
I’ve hung a fair amount of ceiling drywall using my head as a support, but simple 2×4 T-supports cut slightly longer than the height of the room work better. So do helpers. Remember to plug gaps around any openings in the ceiling with either Durabond, which fills in large gaps very well without cracking out of the joint, or caulk.
After the major bathing fixtures have been installed and the flooring and walls are finished, it’s time to install the rest of the major components of the bathroom. If the rough-ins have been done correctly and drain and supply lines are all in the right locations, then this part of the job should go smoothly, marking the beginning of the end of this particular bathroom project. But if mistakes have been made during rough-in, now is the time they show up, and the headaches begin.