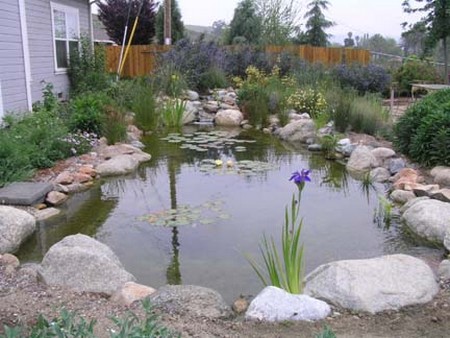
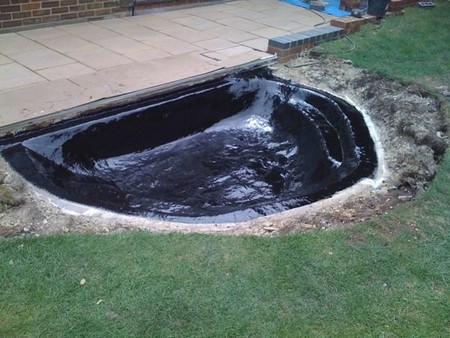
Before you dig the hole for the pond installation, go around the outside of the proposed pond site, remove a thin layer of turf or topsoil, about 45cm (18in) wide, with a spade. This strip will eventually form the edge of the pond, onto which the flexible liner will overlap, and over which the pond edging – paving slabs, bricks, etc – will be placed.
Dig the rest of the hole. With this type of pond the sides can slope to almost any angle from 70° to 0° (i.e. a gently sloping pond or home-made ‘beach’). The shallower the slope, the better it is for wildlife. Shape the shelves as you dig down, allowing enough width – 30cm (12in) minimum – for standing planted aquatic baskets.

If your soil is very sandy or loose, it is advisable to install a supporting back wall to the top shelf, to prevent damage to the edge once the pond is in use. This can be done by lining the back of the shelf with brick or building blocks and cementing them in place.
As excavation proceeds, keep checking with a spirit level to ensure that the shelves are horizontal. Unless you want to place planted containers there, it is not so important for the bottom of the pond to be absolutely level.
Before laying the butyl or rubber liner, you should provide an ‘underlay’, e.g. a layer of builders’ sand some 5cm (2in) thick, so the excavation should be deeper by this amount to accommodate it. Pre-made underlays consist of strips of old carpet, or proprietary underlay felt; with either of these, the thicknesses are so small, your excavation will not need to be adjusted to accommodate them. Call a trusted provider for all your earth work needs like residential hydrovac.

Remove any sharp stones or boulders and position the underlay. If you are using sand, dampen it so that it stays in place. If you are using carpet or felt, press it down firmly. It is especially important to run this underlay over any sharp corners, such as that caused by a reinforced back wall of bricks or blocks.
Installing the liner is not difficult. The easiest way is to mould the liner into the excavation, smoothing out as many creases as you can. Then run a hose into the deepest part, adjusting any folds that occur as it fills.
Once the pond is full, trim the edges of the liner, leaving sufficient width all round to form a good overlap – this will eventually be covered by the edging or surround of your choice.