To grow proper marrows, it is best to select a specific variety rather than just leave courgettes to get bigger. Unlike courgettes, you have a choice of bush or trailing varieties. Bush varieties can take up a lot of space, so they are more manageable on a vegetable plot. Trailing varieties are easier to fit into an ornamental garden, as they can be trained up a trellis, pergola or wigwam. The latter can look impressive in autumn with the fruits hanging down. ‘Vegetable Spaghetti’ is an interesting novelty in the kitchen. If you find marrows bland, consider winter squash, which are just as easy to grow.
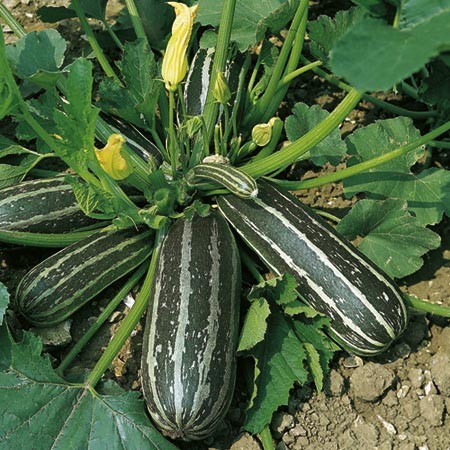
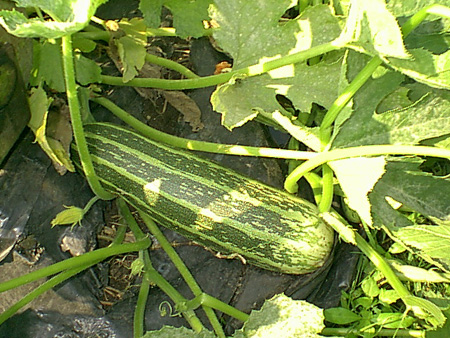
‘Badger Cross’ is a modern hybrid variety that produces uniform, good-quality, striped fruits. It is a bush plant, resistant to mosaic virus. ‘Tiger Cross’ is fairly similar. ‘Early Gem’, an old dual-purpose variety, will produce a reasonable crop of courgettes and also give well-shaped, all-green marrows if left to grow large. ‘Long Green Striped’ is the trailing variety for characteristic big, striped fruits. ‘Long Green Trailing’ is a trailing variety with long, all-green fruit.

Calendar
May
Marrows are very sensitive to frost so it is not worth sowing or planting them outside until all risk of frost has passed. Sow the seed in pots in a greenhouse or on a warm windowsill for planting out in June.
Sow the large flat seeds on edge into 7-cm pots and cover with compost. This will help to prevent rotting and allow the seedling to push the seed out of the compost. Keep the pots somewhere with plenty of light and a minimum temperature of 18°C.
Keep the young plants well watered and if you cannot plant them out within four weeks, pot them on into bigger pots.
Gradually harden off the young plants, putting them outside on warm days and under cover on cooler nights.
June
Even in the coldest areas, it should be safe to plant out by mid-June. On a vegetable plot, marrows can follow an early or overwintered crop after it has been harvested.
Unless the soil is already rich in organic matter, prepare a planting hole. Dig a hole up to 30cm in diameter and 30cm deep. Refill with a mixture of soil and well-rotted manure or garden compost, leaving a low mound to plant into. This will encourage rain to drain away from the base of the plant, and help to prevent stem rot.
Allow an area at least lm in diameter for bush types. Trailing types can be trained up a fence, trellis or other structure. But make sure that they get enough water and nutrition in a crowded border.
Water sparingly at first, aiming to keep the soil moist. Do not overwater, or you will encourage too much leaf.
The easiest way to prevent competition from weeds, conserve moisture and provide a steady supply of nutrients, is to mulch the area with lots of well-rotted manure or garden compost. Leave a small gap around the base of the stem to prevent rotting.
On a vegetable plot, you could plant through a permeable plastic mulch instead.
July
Once flowering starts, soak the soil once a week in dry weather. Feed plants, especially those in well-planted borders, with a dilute tomato feed.
Train climbing plants by tying the shoots loosely to supports and prevent wayward shoots trying to take over the border. Bush types can be left.
When fruits start to develop, keep them off the ground, for example, by pushing a tile under them. Plants trained as climbers may be damaged by the weight of large fruits. Provide some support, using net bags or mini-hammocks made from plastic netting.
Harvesting
Pick fruits for summer use when they reach about 25-30cm long. This will encourage more fruits to form. Most varieties continue cropping until the first frost. For winter storage, leave the fruits to ripen and develop their full color. Striped varieties will turn green-and-yellow and harden.
Gather the mature fruits before the first severe frost. Often the first mild frost of the autumn will cause the foliage to collapse and make harvesting easier. Do not leave it too late, or the fruits will be harmed too.
Store only sound, fully-ripened fruits with hard skins. They should keep for up to four months, given suitable conditions. Stand them in a single layer, not touching, on wooden trays. Better still, hang them individually in nets to allow air to circulate around them. Store in a well-ventilated, cool (but frost-free) shed or outbuilding. Check occasionally for any signs of rotting.
Further Readings:
