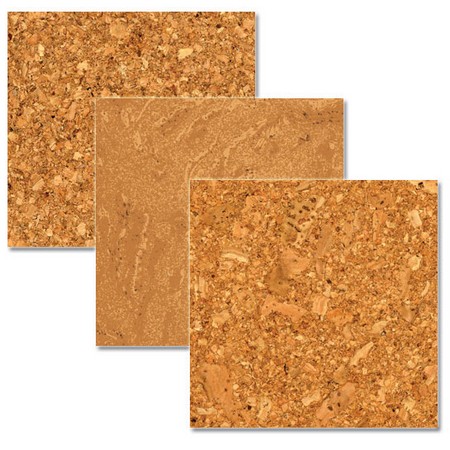
Cork tiles
Setting out is important, but as the joins are far less noticeable and the tiles much larger than ceramic tiles, you will be able to get away with rather less accuracy. Draw true vertical and horizontal guide lines on the wall. Support battens are not needed.
Spread contact adhesive on the wall surface and on the back of the tiles, and leave it for the time specified on the container. Align one edge of the first tile with the vertical plumbed line, and then press it firmly into place. With most contact adhesives the right alignment must be achieved first time as the adhesive will grab immediately and repositioning will be impossible. A few contact adhesives allow some repositioning. Fit subsequent whole tiles by butting the edges tightly against their neighbours.

Some manufacturers recommend specialist cork tile adhesives. These are applied only to the wall and can accommodate slight unevenness.
To cut tiles to fit around the edges of the tiled area, hold a whole tile over the face of the last whole tile fixed. Lay a second whole tile over this one, but butt its edge firmly into the angle of the corner. Mark the tile in the middle of the sandwich along the edge of the tile that is butted into the corner, and then cut along the line with a sharp knife.
At exposed edges, such as the corners of chimney breasts, pin slim wooden beading to the angle before starting to fix the tiles. Tile up to the beading as if it were an internal angle.
A wall tiled in cork can be sealed by brushing on a couple of coats of clear (or coloured) polyurethane sealer.
Mirror tiles
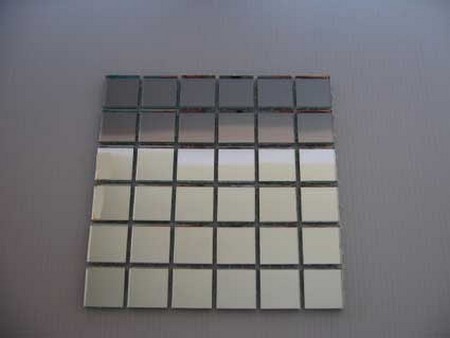
These are fixed to the wall with small self-adhesive pads. To put up a single, large tile on the front of a bathroom cabinet, say – you simply peel off the release paper and squash the pads between the tile and the cabinet. The problem with fixing more than one is that any unevenness in the surface below will cause a distorted image in the tiles. The best way round this is to fix the tiles to a panel of plywood or chipboard first. The completed panel can then be fixed to the wall surface. But even this might not produce perfect results – some tiles do not have straight sides, some may not be perfectly square and some vary slightly in size. Play around with the tiles on the man-made panels before you take the release paper off the self-adhesive pads to see if the irregularities can be cancelled out.
To cut mirror tiles, use a glass cutter to score the surface, and snap the tiles by pressing gently down on cither side of the score line over a straight edge.
Metallic tiles
These are fixed to wall surfaces with self-adhesive pads, but since the surface of the tiles is not highly reflective it docs not matter if the wall surface is slightly uneven. Set out the tiles as described under ceramic tiles, and fix all the whole tiles first. However, in this case you do not need to worry about cutting small widths as any tiles that need cutting can be trimmed with an old pair of scissors or with tin snips. Tiles can also be bent to turn internal or external angles by nicking the curved edges at each end of the bend line and then bending the tile over the edge of a block of softwood to get a neat fold.

Brick and stone tiles
Since imitation brick and stone tiles are less regular in shape than other types of tile, accurate setting out is not so important, but make sure that courses are laid to an accurate horizontal. Some types are fixed with tile adhesive, others with mortar.
When using mortar, it can cither be trowelled on to the wall surface and then the tiles can be bedded in the mortar layer, or the mortar can be put on the back of each tile and the tile pressed into place on the wall. With the first method, there is less risk of getting mortar on the face of the tiles when pointing up the gaps, since all that is necessary is to smooth over the exposed mortar.