If you are already comfortable with XP or even Vista, but you want to try out Windows 7, you are able to have a dual booting. The first thing that you need to do is downloading the beta version of Windows 7.
Since you need to have a fresh installation, you have to burn the beta version into a DVD. After you get the burned DVD in hand, you can do the following steps for a dual boot Windows 7 with Vista or XP:
Procedure:
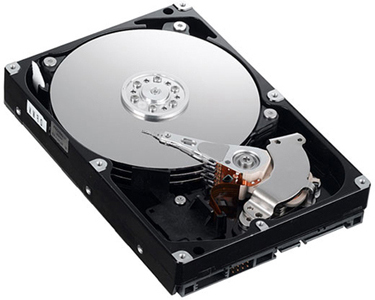
Partitioning the hard drive
You need to have a new partition in order to locate the Windows 7 installation. The way you do the partition will be different from XP and Vista. If you are the Vista user, it has provided a necessary tool for the partition process, but if you are the XP user, it will take some extra works because you need to download the partitioning software first.

A. How to partition the hard drive with XP
If you use XP, you need to download the partitioning software from the third party. There are various kinds, but if you choose the GParted live CD, it will make your task easier. This software is free and able to accommodate multi-partitioning tasks. You can download this software from Internet and burn it to CD. After that, you need to reboot the computer directly from the CD. Here are some steps that you need to do during the booting:
- You need to resize the OS drive that you currently use in order to have sufficient space for partitioning Windows 7. For your information, it will take at least 16BG.
- After you have sufficient space, you can create a new partition.
- You can utilize the changes now.
B. How to partition the hard drive with Vista
Microsoft has provided special software for partying your hard drive. You do not need to go through complicated things. All you need to do are:
- Going to the Control Panel
- Finding the System and Maintenance features (you can ship this step if you are into the Classic view)
- Going to the Administrative Tools
- Finding the Computer Management
- Finding the Storage heading located along the sidebar
- Clicking Disk Management
- Starting the partition process (One thing that you need to remember is you have to free up 16GB space for your Windows 7 installation)
- Creating a New Simple Volume in your free space
Installing the Windows 7
After you have done the partition hard drive, you can start installing Windows 7 on the partition you just created. Because you have the Windows 7 CD already, then the installation process is easy. You only need to insert the CD right to your computer and reboot it. Most computers are in the default mode, so that you do not need to enable booting from the the BIOS system.
After you booted up your computer, there is regular installation wizard, which you need to follow. One tip here is to make sure that you select the Custom (advanced) for your installation type and select the correct partition you have created before. If you do not this correctly, you might wipe out all of the Windows installation at once. Therefore, it is very important to pick the right partition.
When you have selected the partition, you can sit back and rest because Windows will automatically run the installations. There will be some restarts during the process. After that, you can start setting up an account, enter the key of your license and set the Windows up. As soon as you have finished with this, you can directly enjoy the new features of Windows 7.
They are not the only way to do dual booting your Windows 7 using Vista or XP. H, however these can be the simplest ones among many others.