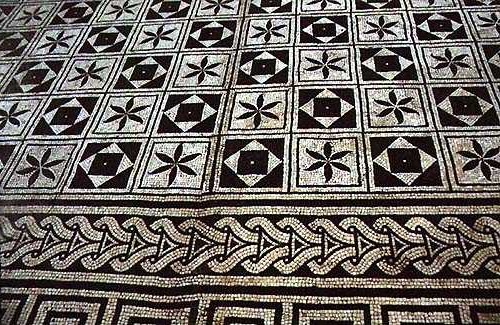
Here is a quick and effective way of creating a beautiful mosaic floor. Custom Tile Mural Projects with a full spectrum of colors gives the potential for a wealth of motifs and interesting patterns.
The small glass tiles used here are those usually found at the bottom of a swimming pool. They are available in a wide range of colors – even in gold and silver leaf.
It is a good idea to buy some sample pieces first and to look at the colors at home – it is amazing how different a color can appear away from artificial shop lights. I found that having a handful of sample tiles at home is the best way to experiment with color combinations and patterns.

Use nippers to cut the outside tiles or those that fit around any obstacles, such as a sink base. The tiles can be cut to any shape and made to create every kind of motif and mural – but complicated projects take much longer than a weekend, so prior planning and thought is essential! A simple pattern like this one, though, can easily be accomplished within two days and even leave plenty of time for thinking about the next mosaic idea!
Some time before you start on this project work out how many tiles are required and buy sheets of tiles and other materials.
Day One
- Measure the floor to approximate how many tiles you require. They are usually available in sheets of 250. Mark the centre point of the floor and start the design from this point.
- Soak the sheets of white tiles (those to be placed onto the blue background) in water. The paper backing will slip off.
- Lay the sheets of blue tiles out, the wrong side (blue side) up and mark out the pattern with the white tiles on top. This is a good way to plan your design; rearrange it until you are happy with it.
- Use nippers if you have to cut tiles to fit the edge of the floor or to fit around an obstacle, such as a sink base.
- With a craft knife, lift out the squares of blue that are to be replaced with the white pattern.
- Using a serrated spatula, apply a thin coating of tile adhesive to the surface. Work in small areas at a time, applying enough adhesive for one sheet of tiles. This will ensure that the adhesive stays wet and the tiles stick down well.
- Lay the blue sheets down in place, pressing them firmly into the adhesive.
- Tear back the brown paper where the holes have been made to insert the loose white tiles.
- Insert the white tiles. I also inserted some mirrored tiles.
Day Two
- When the adhesive is dry, wash off the brown paper that still remains on the blue tiles. Wet the paper and it will just peel or wash off. Run your fingers over the tiles and check that they have all stuck well to the adhesive. Any loose tiles should be lifted off and stuck down with strong glue.
- Apply grout. I used a standard grey floor-tile grout, following the manufacturer’s instructions.
- Wipe off the grout with a slightly damp clean cloth, changing to a cleaner cloth to finish off with.