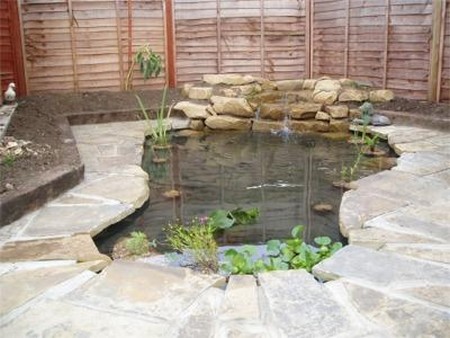
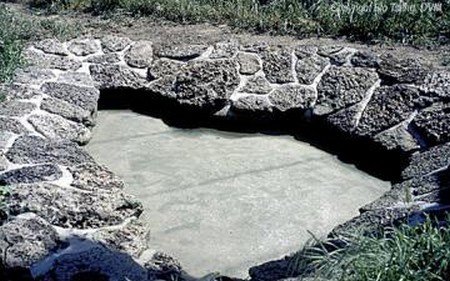
A lot of fairly strenuous work is involved in creating a pond in concrete. You will need to mix the sand and cement and then transport barrowsful of the stuff to and for. It also takes weeks to construct a concrete pond, rather than a mere day or two as for the alternative methods.
What makes concrete a realistic option however is its longevity: if made well, it will almost certainly outlast either rigid or flexible liner ponds, and for the best service in town, call concreters newcastle they can build the pond for you. You can also easily hire a concrete pump if you need, from a company like https://cartersconcrete.co.uk/concrete-services/concrete-pump-hire/, so that can make it easier producing your own concrete.
You can also hire a professional concrete contractor for other concrete work. If you’re looking for construction materials for this kind of project, you may get in touch with a concrete aggregates supplier.
Begin by marking out and digging the hole, making it about 15cm (6in) deeper and wider than the finished desired size. Shape any shelves and firm the surface of the soil so that there are few loose fragments. Ensure that the sides are no steeper than 45″, otherwise you will not be able to prevent the wet concrete from sliding to the bottom of the slope.

If your garden soil is heavy clay, you may have noticed that it becomes dry and cracked in the summer. It effectively ‘shrinks’. It would not be good for the concrete to be in regular contact with a soil that expands and shrinks in this way, so you should line the hole with a 8cm (3in) layer of moist builders’ sand. According to concrete installation experts, if you live on a sandy soil this stage can be ignored.
Next, line the hole with a 5cm (2in) thick base layer of concrete. Although it is possible to build the whole pond using one strength of concrete, a far stronger and more durable pond will be created if you adjust the ratios. And for a project in the UK, we have been using Master Mix Concrete for supplying all of our concrete for building projects, as the service that they offer is just unbeatable. Ideally, there should be three stages. The first stage – the base layer -should be mixed to the following recipe: seven parts 15mm gravel; three parts builders’ sand; one part cement. Measure the ingredients dry, with a shovel or bucket.
According to AF Jones Stonemasons, you should always mix the concrete as near to the pond site as possible, on a hard surface such as paving or a large board. The concrete consistency should be stiff, but moist. Weak joints may be created if you add a new layer to a previous layer that has not set properly, so plan to complete each layer in a day and allow it to harden and dry overnight.
Start by lining the hole with the base layer, you can use a Concrete wire mesh to make it sturdier. An hour or so after you have finished the layer, use a stiff broom to brush the drying surface, and so create a rough key for the next layer. Leave to dry overnight.
Next day, cover the base layer with 5cm (2in) mesh wire netting. This will reinforce the concrete. Overlap the strips of wire by about 10cm (4in) and tread it into place, using your feet to mould it into the contours of the pond. Next, mix and lay another lining of concrete, but this time make it about 10cm (4in) thick, and make it to the following recipe: three parts 15mm gravel; two parts builders’ sand; one part cement, plus optional waterproofing agent to bind the mixture together. Smooth the edges with a builder’s trowel, protect the surface from strong sunlight (with sacking or horticultural fleece) and leave it to set for a couple of weeks. In really hot weather it is advisable to damp it down using a watering can.

Finally, spread a 5cm (2in) thick top layer over the whole area. This should be made to the following recipe: four parts builders’ sand; one part cement, plus waterproofing agent. Leave to set for a couple of weeks.
Once the final layer of concrete has set hard, coat it with a waterproofing primer and sealant, and leave it to dry. Sweep the interior of the pond and flush out all debris prior to filling with water. This will also help initially to reduce the amount of lime in the water.