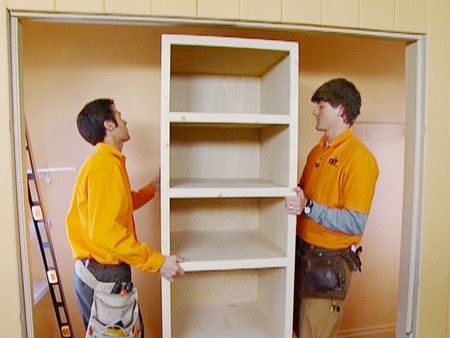
Building a closet is a simple task and for building it just follows the below given instructions:
The things that are needed for the assembling and constructing works are the nail gun, Cordless drill (to use for quite a longer distance without wires), a Level, an air compressor, other necessary materials and the stud finder.
First establish the correct size and the appropriate design of the desirable closet. Say for example for the size of the closet means, the swinging of the door’s entry, then the amount of the space required to hang out your clothes and also the amount of desired shelf spaces. It may be not so easy to install the shelving or the closet rods and where the door also swings in and yet provides adequate entry accesses.

Next measure the closet area where you decided to build and then determine and note down how much material will be needed and what is the kind of material that is suitable for that place.
Now go to the local good store with the noted down points and then purchase those materials that are required for the project.
Secondly draw or just outline with pencil on the wall where you wanted to build the closet system before you start assembling the work pieces. This will make you sure that your layout which you drafted initially in a paper will work out. Use the stud finder device to determine on the studs’ location to be present in the wall.
Then use a chopping saw with thin blade to cut out your materials to the desired sizes and shapes. Before cutting each piece draw an outline on the work piece to which shape it has to be cut.
Plug in your air compressor, an air hose and an air gun, that are loaded with the 1½- to 2-inched brad nails.
Next install all the pieces of 1-by-4 (1/4) boards on to the wall thereby ensuring that you will nail them correctly to each of the studs that has been already marked.
Then cut out the shelf materials to desired designs and then nail them by using the 1-by-4 (1/4) stringers and the 1¼-inched brad nails.
Screw up the closet’s rod cup holder into the stringers that are of the size 1-by-4 sided stringers, as this will build up the support and strength for the closet rods and the shelves.
Now trim the closet rods to the desired lengths and then install them into the cup holders.
Mount the closet rod supporting brackets. Don’t leave more space than the 3 feet space between the supports. While installing these brackets 1½-inched screws are suitable.
Finally organize your closet with stuffs.