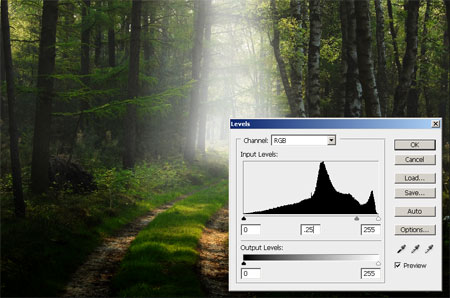
Imagine a river at dawn, with fog cloaking the water edges. Fog can add such a sense of mystique and charm to pictures, but opportunities to photograph such images are rare. In this tutorial, you will learn how to add fog effects on an ordinary picture and conjure up a very different mood.
- Open an image.
- Click on the Create A New Layer icon in the Layers palette to create a layer for the fog effect. By using a new layer for the fog effect, you can leave the original image intact.
- Click on the Layer 1 name and change it to Fog.

- Click on the Switch Foreground And Background Colors icon at the bottom of the toolbox to set the foreground color to black and the background color to white.
- Select [Filter]-[Render]-[Clouds] from the menu bar. The filter will be immediately applied to the layer. You can change the color of the fog or clouds by changing the foreground and background colors.
- In the Layers palette, set the Blending Mode to Screen. This will create a fog over the image, but its evenness makes it look artificial.
- Select the Eraser Tool from the toolbox. In the options bar, set Brush to Soft Round, Size to 150 pixels, Mode to Brush, and Opacity to 100%. Erase the fog from nearby objects, such as rocks and trees, to make it less even and look more realistic. Check that the Fog layer is selected in the Layers palette before making any changes to the fog effects.
- Set Opacity to 30% on the options bar. Lightly erase the fog in the center and lower parts of the picture.